Nik Stanbridge
Analogue photography and printmaking
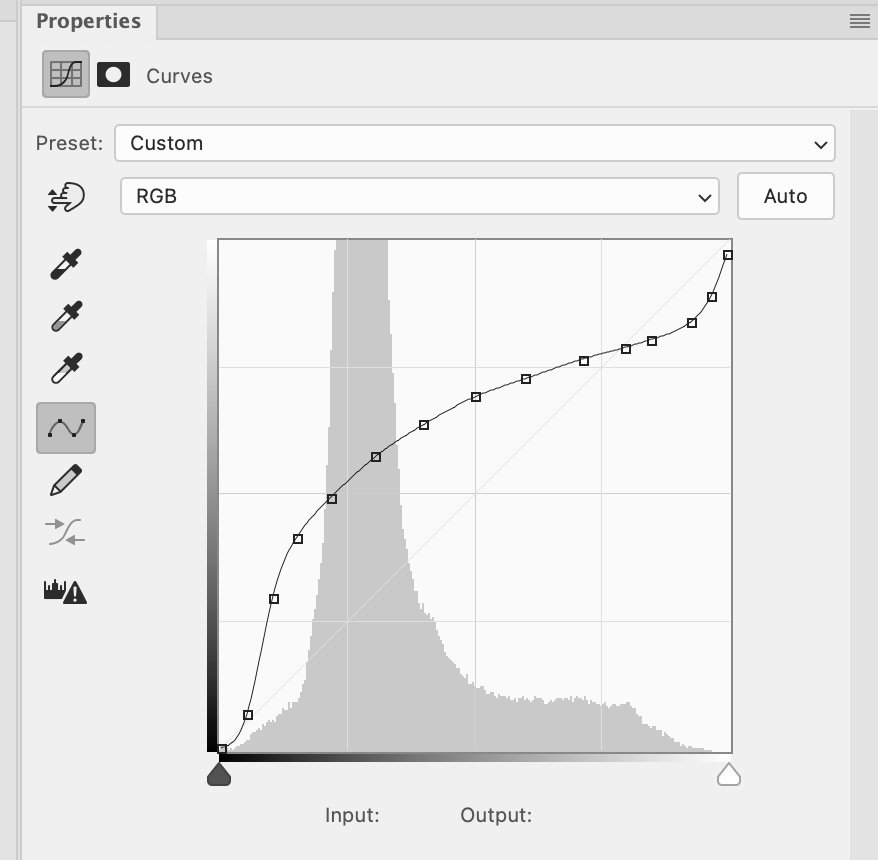
Getting stuck into the actual printing part of polymer photogravure was what I was most looking forward to. But as with most creative processes, there’s a lot to do before you can get to the fun bit. Here it’s the process of creating the printing plates, which requires the calibration of your UV exposure unit in terms of aquatint screen and image acetate exposure times. These are initially used to derive the image adjustment curve crucial to obtaining beautiful prints.
In theory, once you have calibrated plate exposure times and an adjustment curve, making plates is a routine process. Little did I know how hard this was going to prove to be. The process adjustment curve is what you use in Photoshop to map the tonal range of your photographic images with the dynamic range capabilities of your photogravure process.
Other than consumables, you need access to a UV exposure unit and short of buying or making one yourself, which is eminently doable. Later, you need to find an open-access print studio with one. I joined the Oxford Printmakers Co-op – a well equipped and well-established print studio with a UV exposure unit. I booked myself a session with high expectations of leaving with not just a printable plate but with an actual print. This proved to be somewhat wide of the mark.
My previous experience of UV exposure units at the workshop I attended was with a new LED-based machine. The machine at OPC was 25 years old that had a metal halide bulb of unknown age. Nobody at OPC knew anything about photopolymer printing, and their UV unit did not have any instructions relating to photopolymer plates. The OPC unit was exclusively used by the screen printing folks.
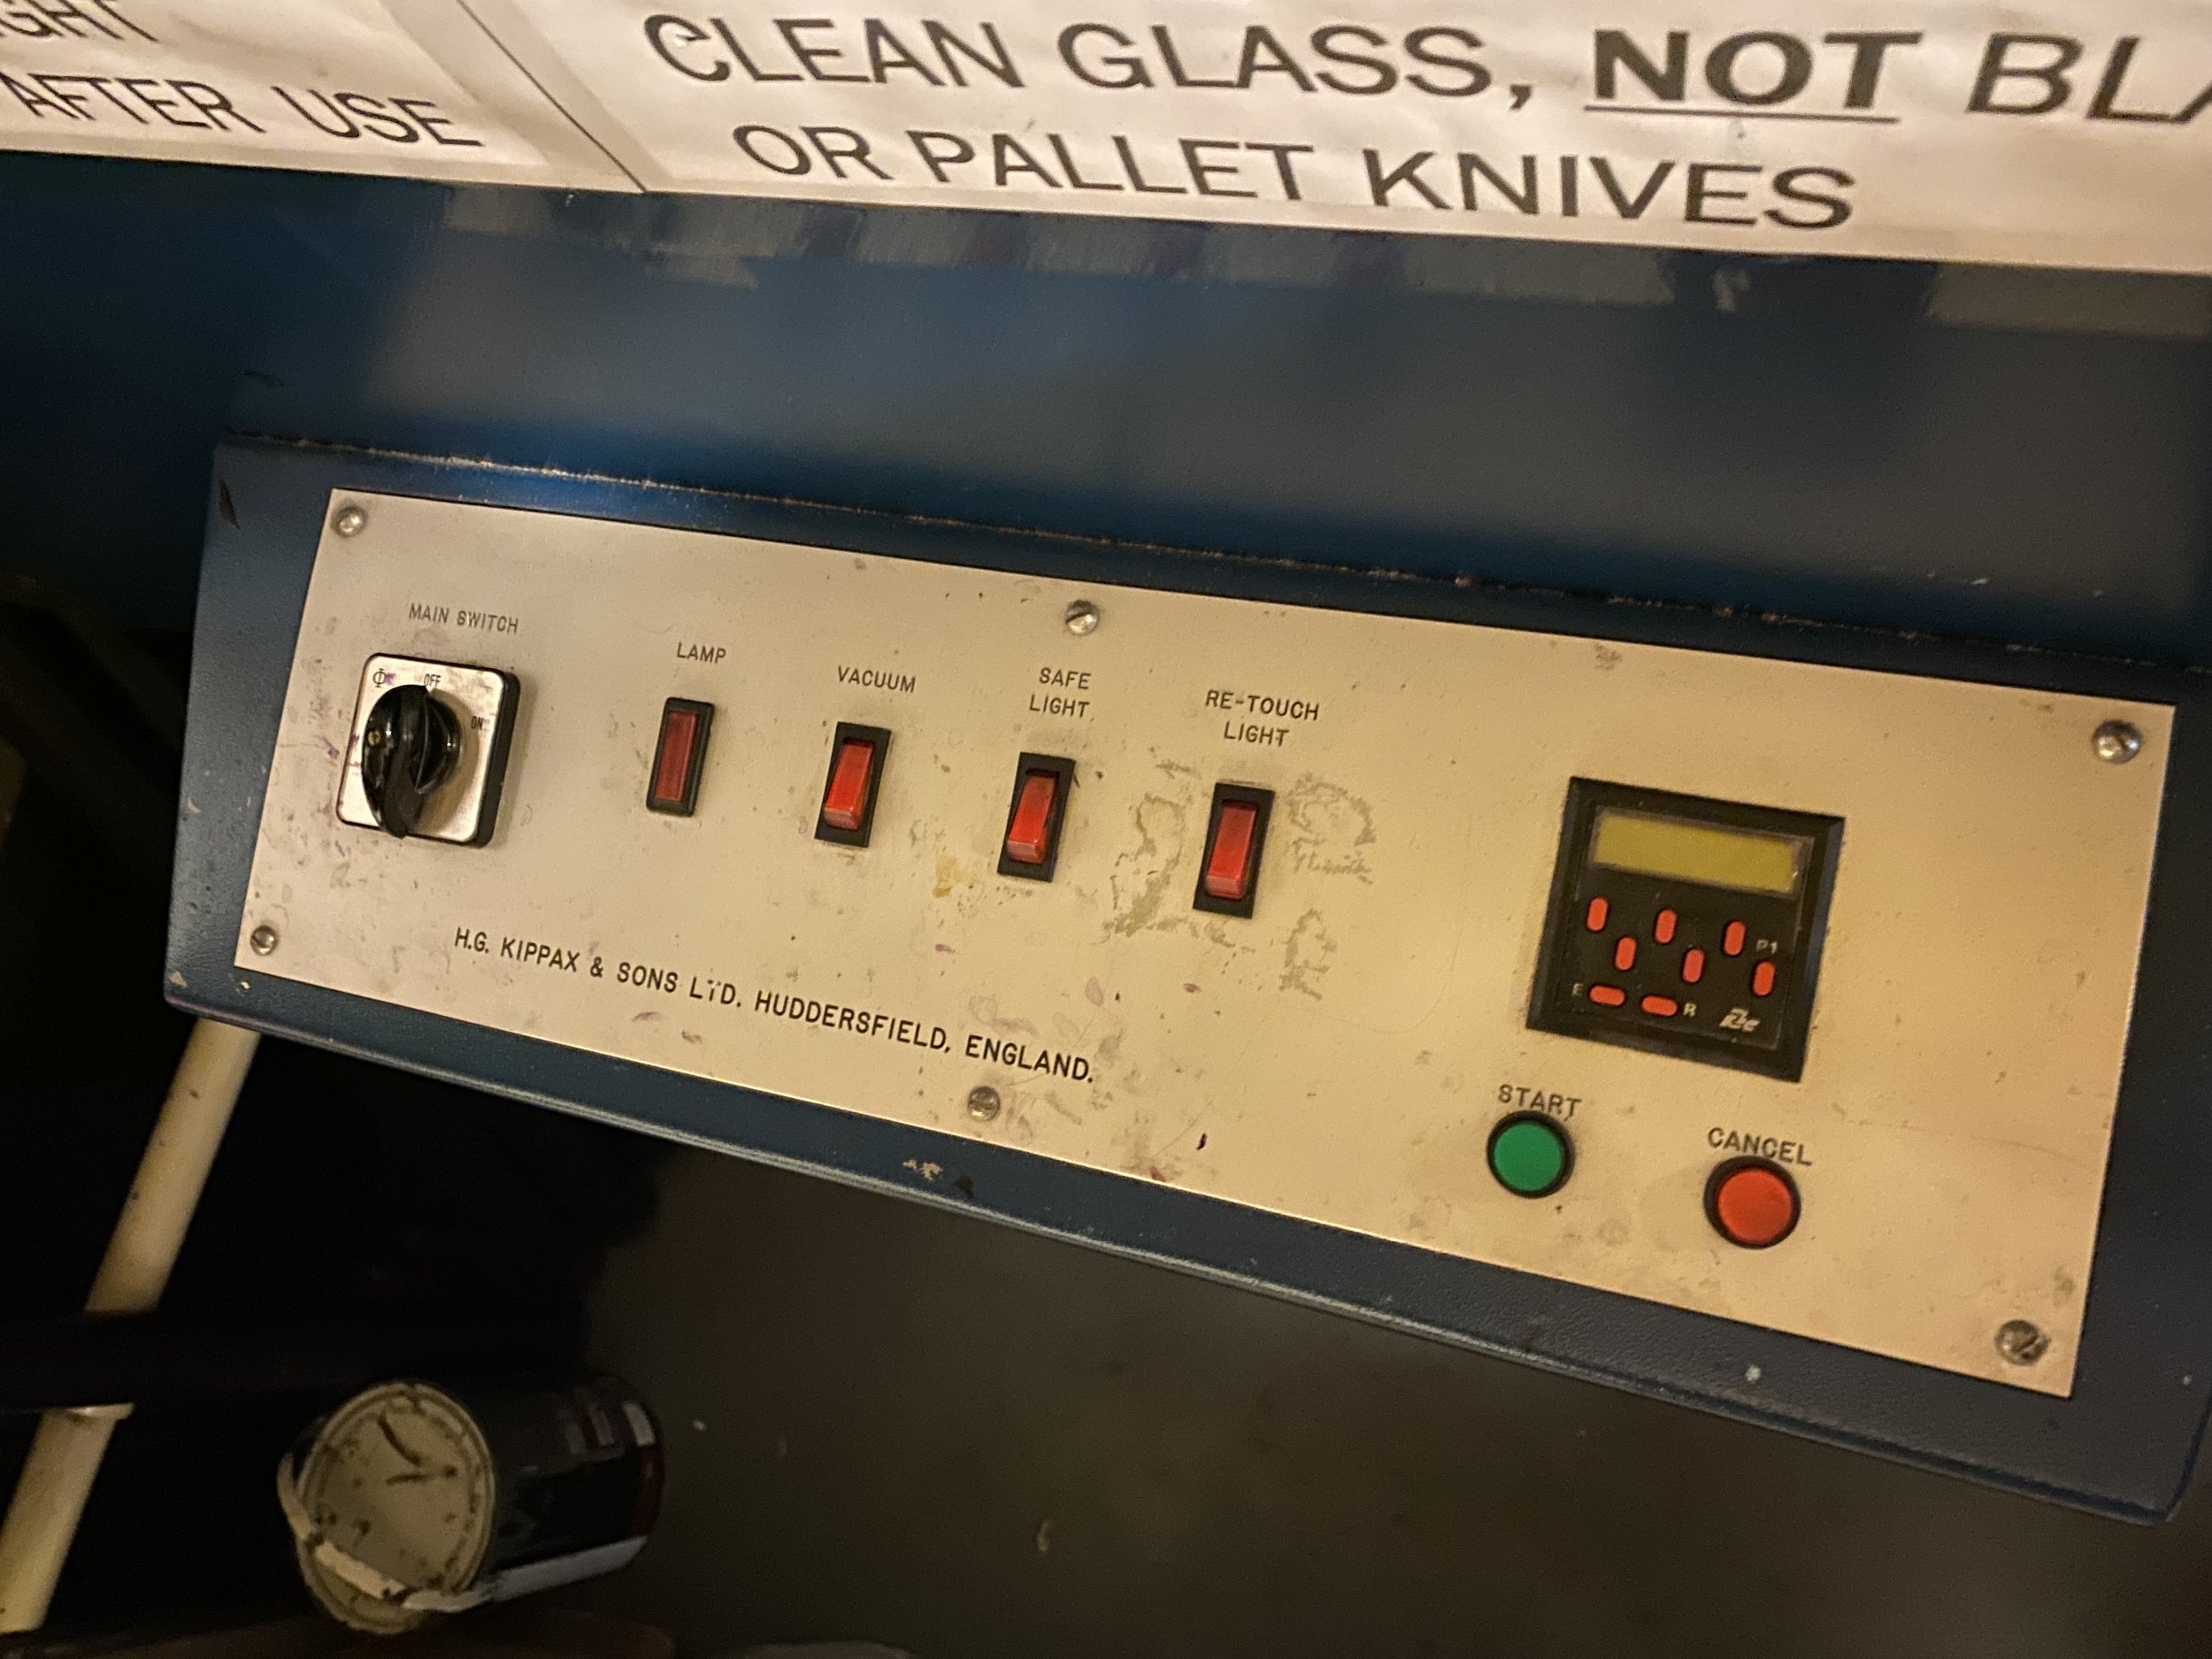
How hard could it be given that I had a detailed step-by-step process to follow?
Armed with my Stouffer step wedge, I started to go down the calibration route following Clay Harmon’s methodology from his excellent book: Polymer Photogravure: A Step-by-Step Manual. Using the default settings on the Kippax unit, my first step wedge was a hideously underexposed sticky mess. At this very early point, I sort of knew that I was in for a lengthy calibration process and remembered the numerous times I’d read that calibration is a long and drawn-out process because of the number of variables, not least of which is the unknown quantity that is the UV unit.
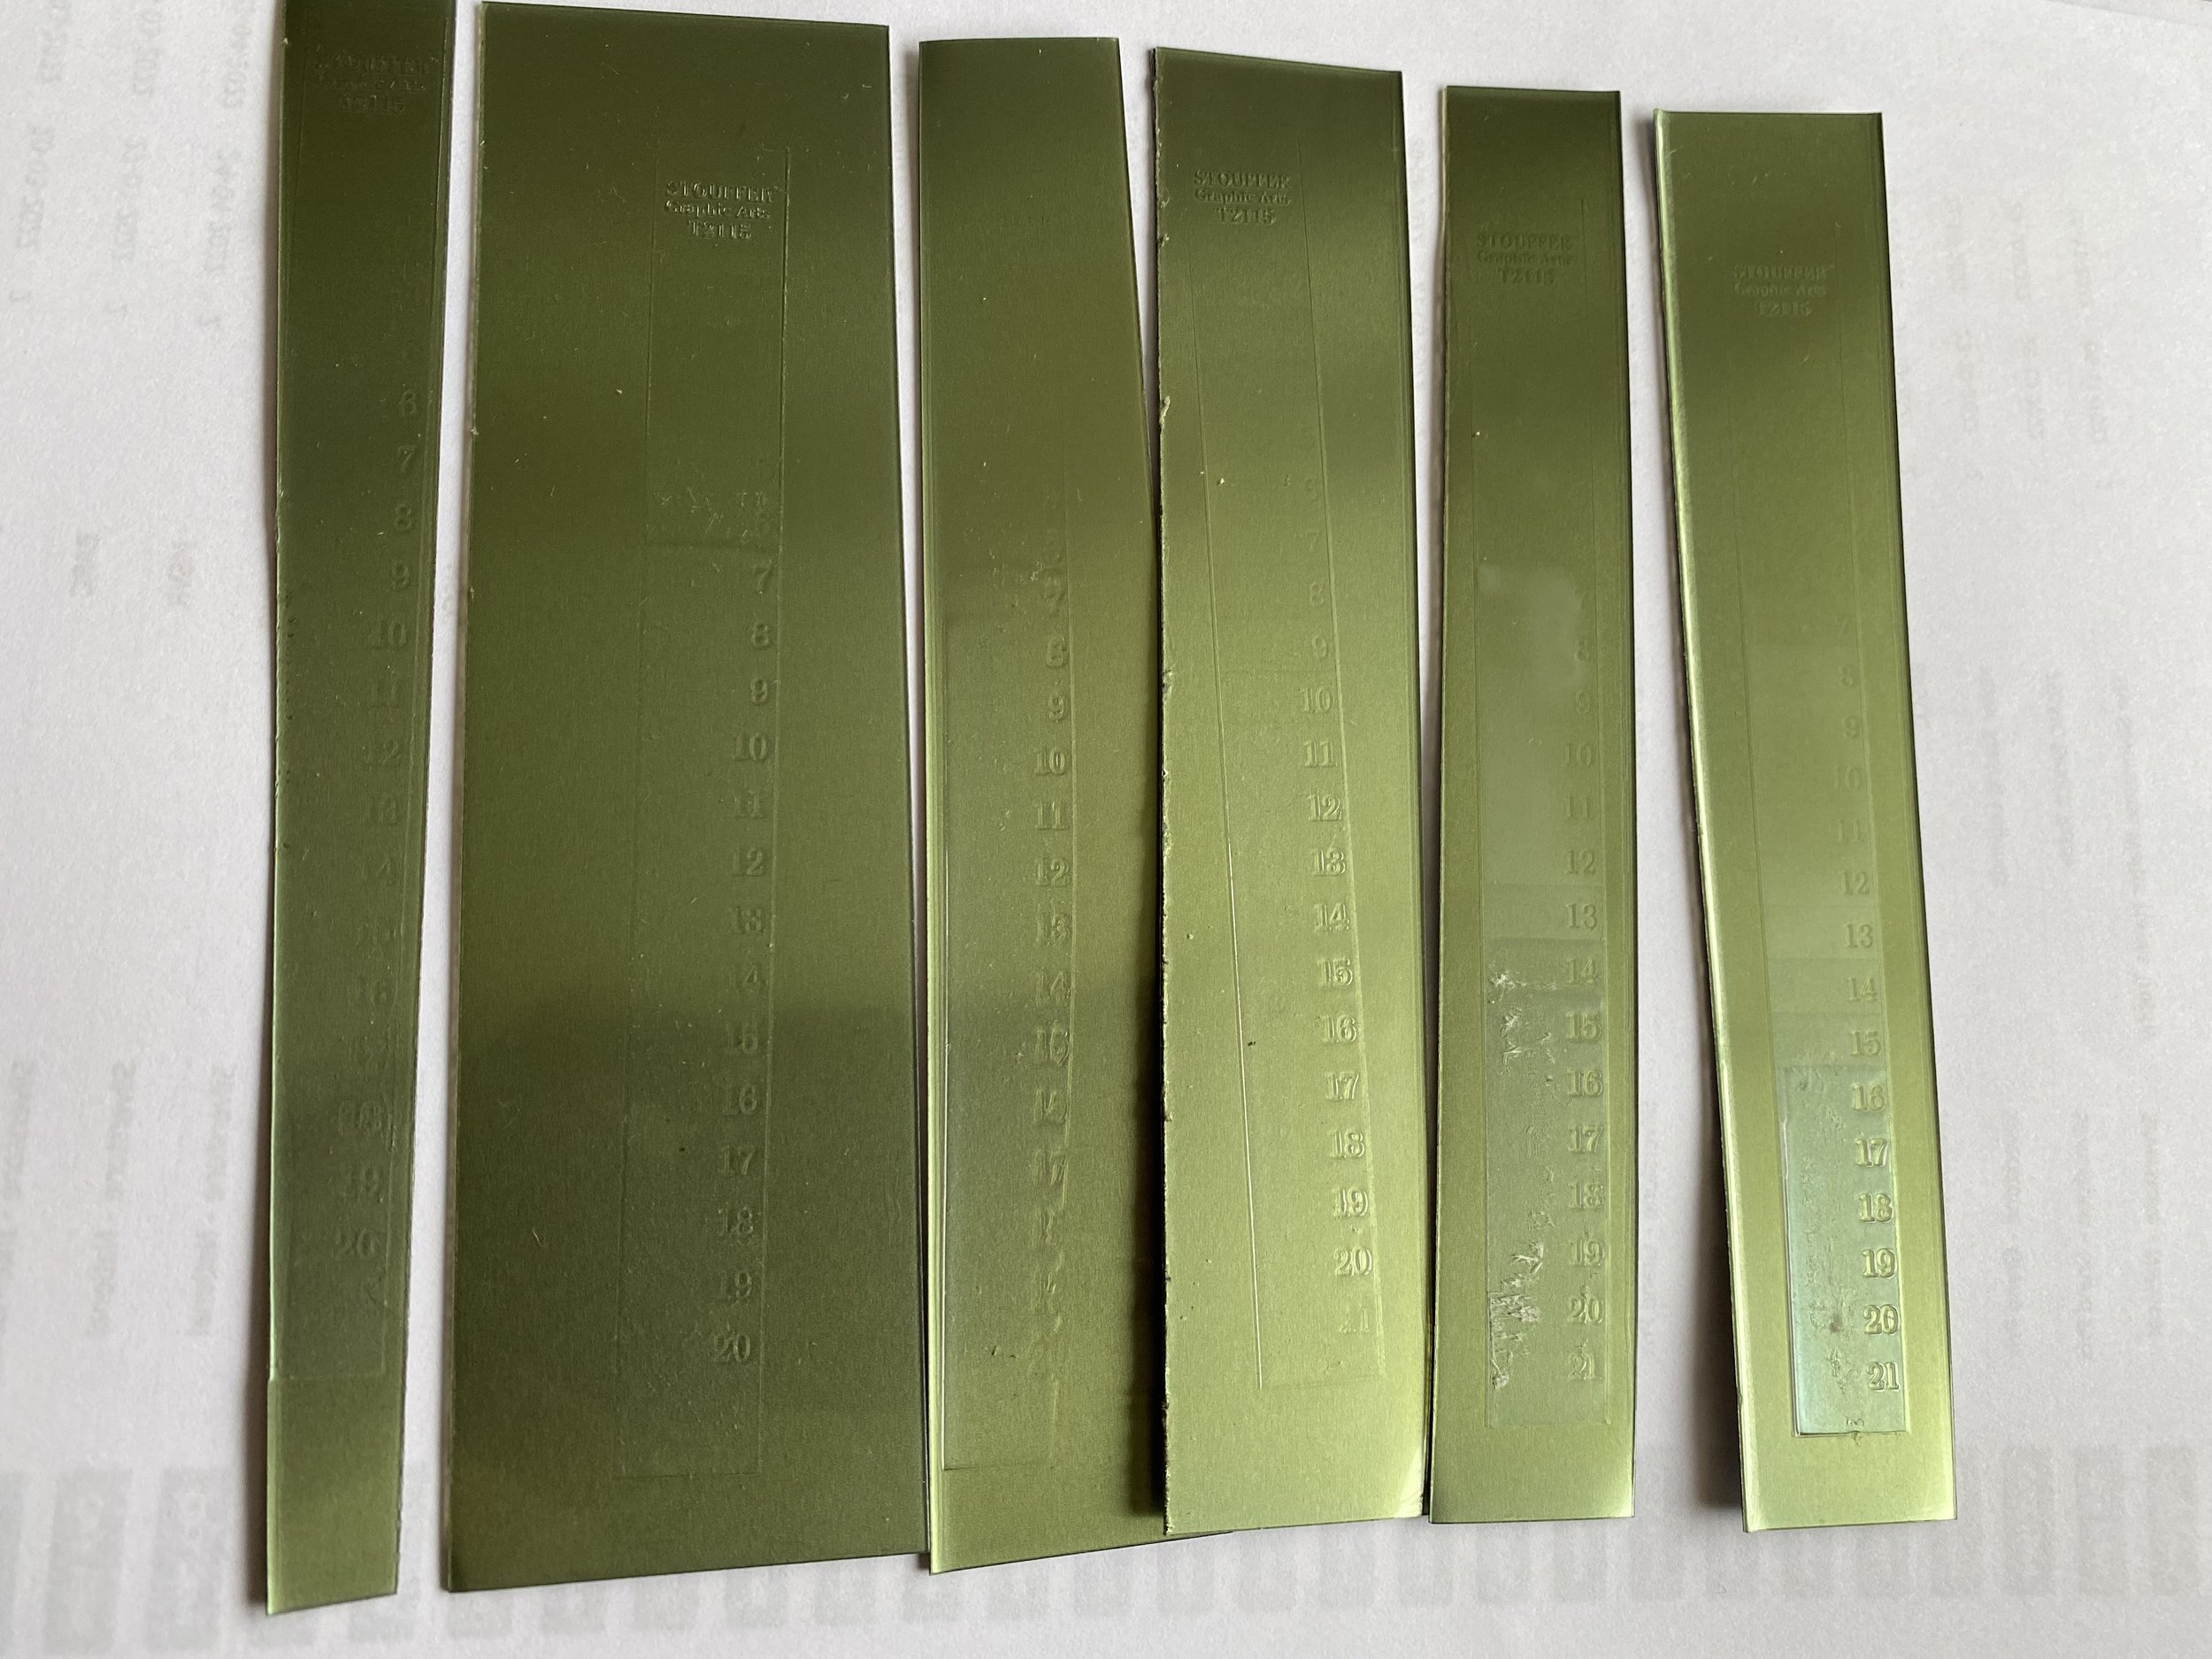
I persevered with the methodology and tried longer exposure times using multiple exposure cycles (multiple use of the unit’s Start button using the standard ‘unit of exposure’). I tried 1, 3, 5 and then 15 presses of the button. Bearing in mind OPC charge £1 for each exposure cycle, this was starting to be expensive. Each of these incremental tests etched out more and more of the 21 steps of the Stouffer tablet so I believed I was moving in the right direction but nowhere near quickly enough.
Given the standard exposure cycle was an arbitrary 400 units of exposure (so 15 cycles is effectively 6,000 units), I decided to try 20,000 units (roughly 30 minutes) as by this time I’d worked out how to configure the machine. Again, more Stouffer steps were being etched out. So I tried 30,000 (~45 minutes). Again, more but not the elusive ‘all of them’. According to the methodology, the reason for needing all of the steps etched out was to identify the first step (highest step number) that was completely etched out as this establishes, in the Clay Harmon methodology, a ballpark screen exposure time.
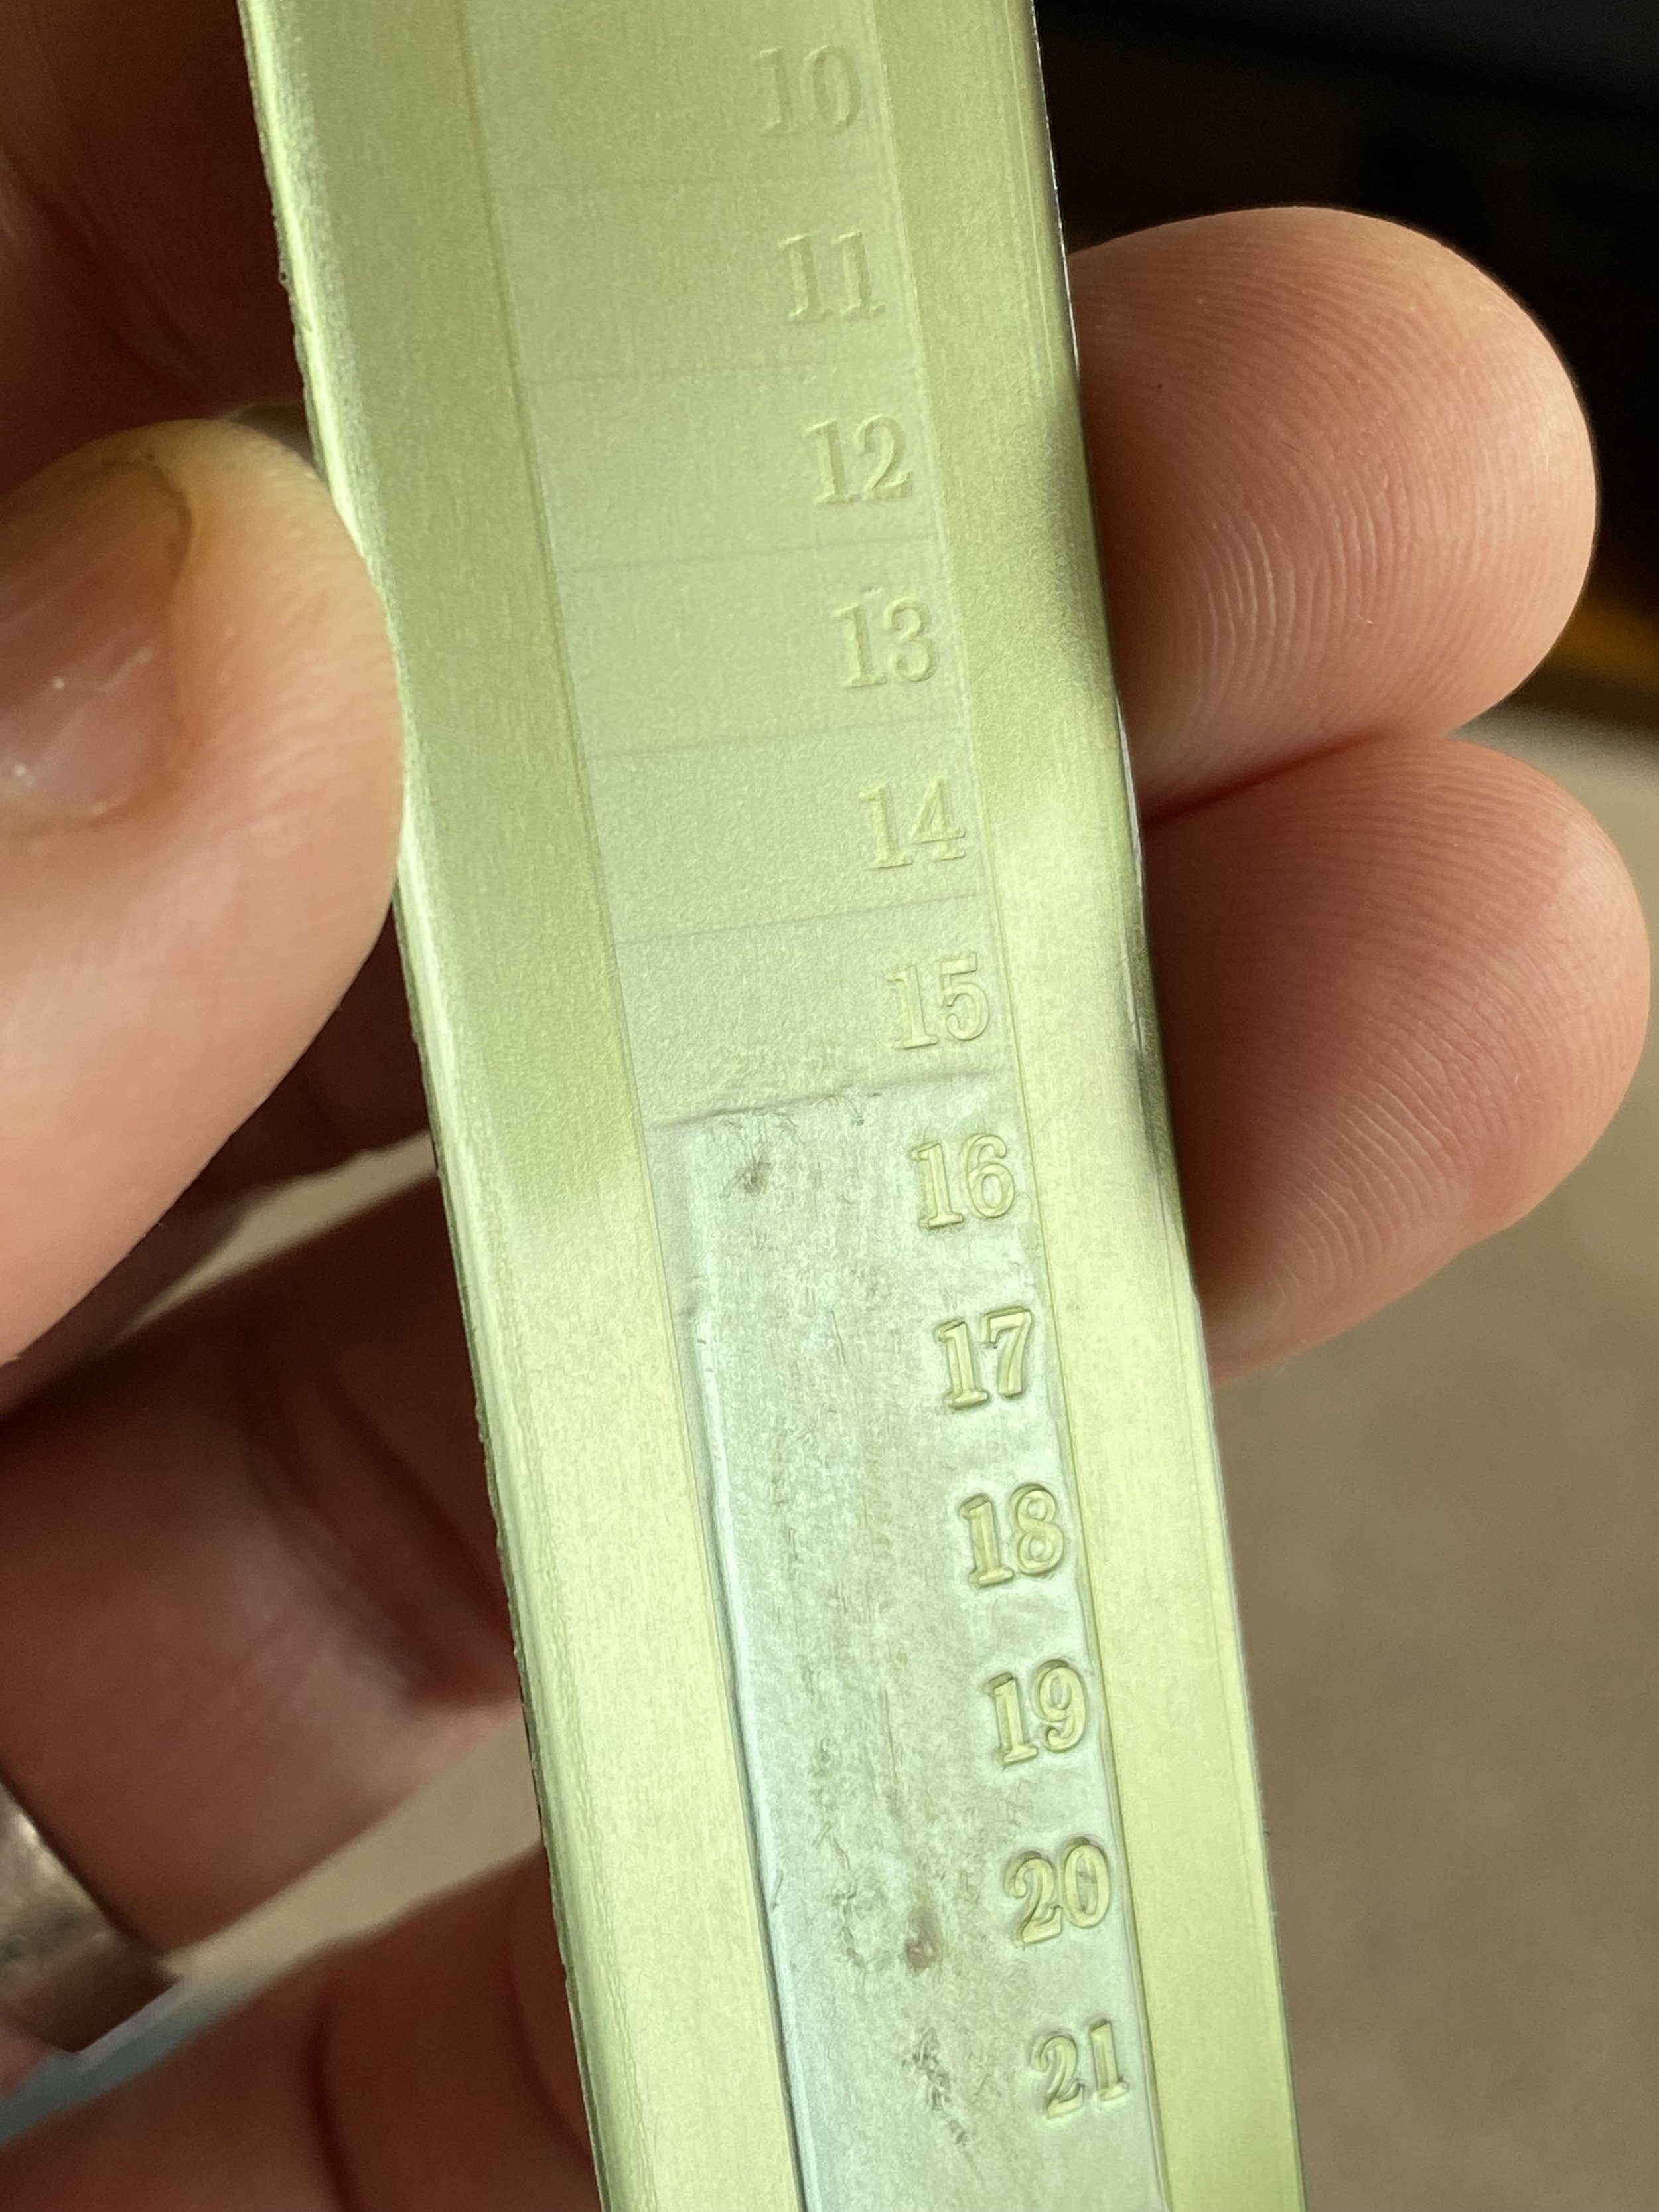
I ended the session with a Stouffer tablet with 13 of the 21 steps etched out. Progress of some sort, but I was dispirited as I was still a long way from where I needed to be.
In retrospect, I realise now that I had no idea what I was looking for in performing these step wedge tests or what ‘etched out’ actually meant/looked like.