Nik Stanbridge
Analogue photography and printmaking
Having done my process and resources research, and given the skills and capabilities needed, I decided that it would make a huge amount of sense to attend a photogravure printing workshop. This, I hoped, would give me the skills and capabilities boost I’d need to really get to grips with photogravure printing.
There were a few courses around me (here in the UK) so I picked the one that was happening soonest (this was Jan/Feb 2022) that also happened to be a single day. My course (I highly recommended it) was at Bainbridge Print Studios, run by Lucy Bainbridge.
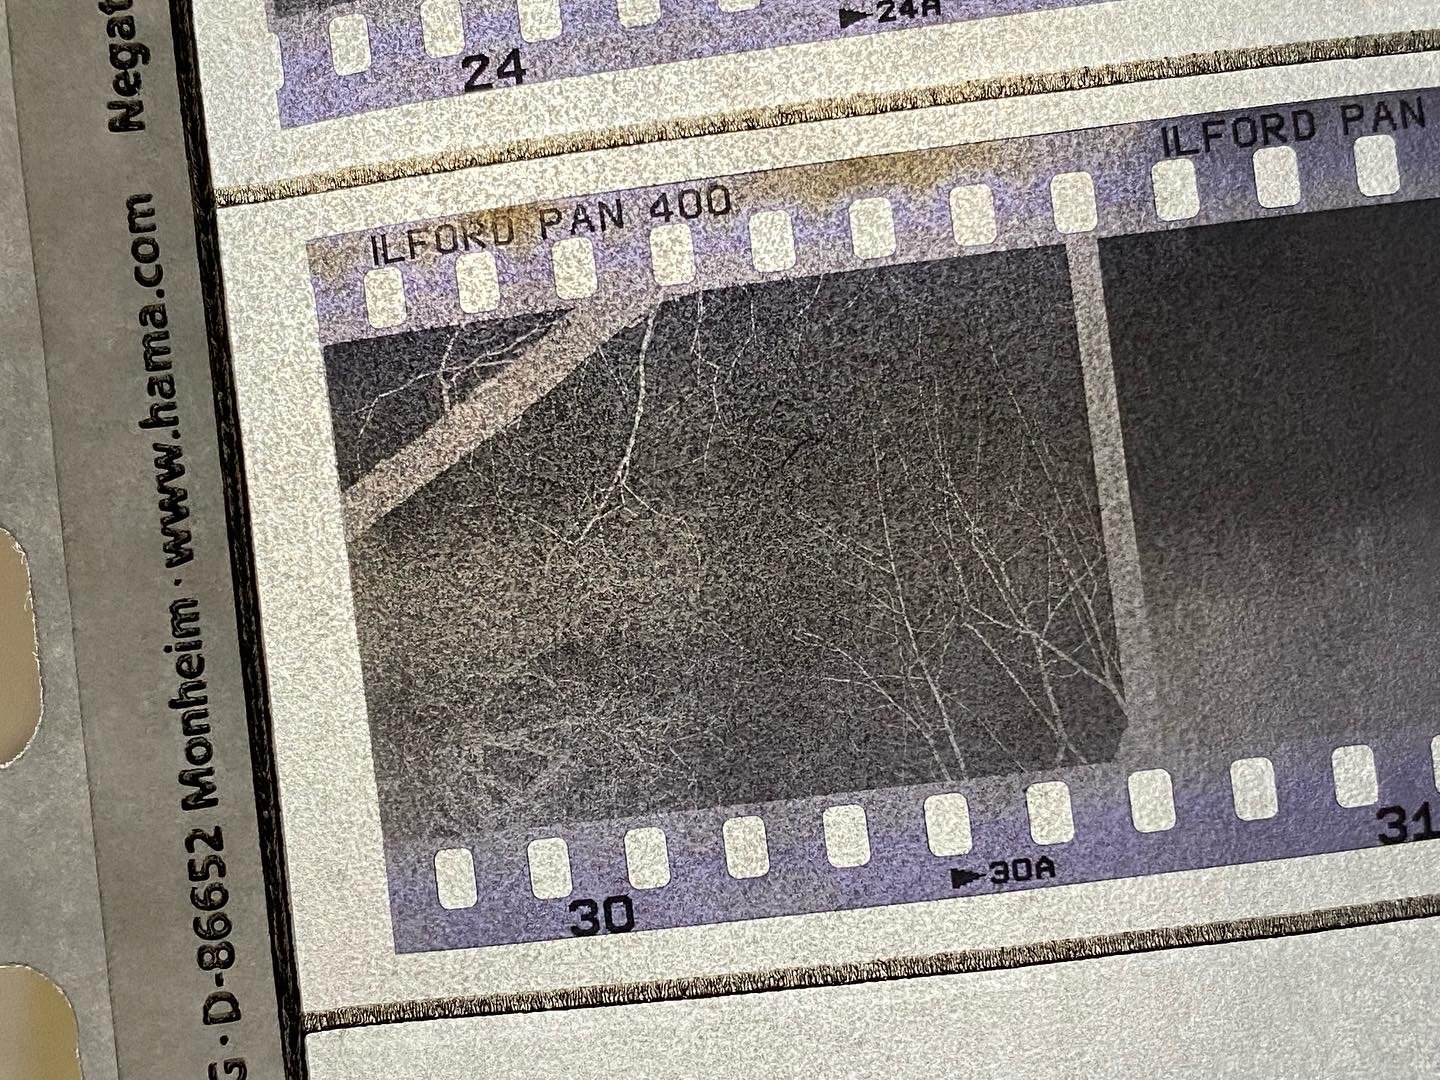
Having enrolled, I chose my image, sent it off to Lucy to print onto acetate so that this part of the process, that used her pre-existing image modification curve (in Photoshop), could be executed in advance.
[Note: The processes involved in editing the image used to create the acetate are some of the most fundamwental and important in polymer photogravure. The image is modified with an adjustment curve (in Photoshop or similar) so as to map the wide range of tones in the image with the narrower range of tones the photogravure process can reproduce. The creation of the adjustment curve is one of the key outputs (along with the aquatint/image exposure times) from the calibration process for a given set of process variables (e.g. acetate material; printer; photopolymer plate; aquatint screen, UV exposure unit etc.).]
There were four of us in the workshop with varying levels of experience of printmaking. I think I was the least experienced as I had, essentially no experience outside a darkroom.
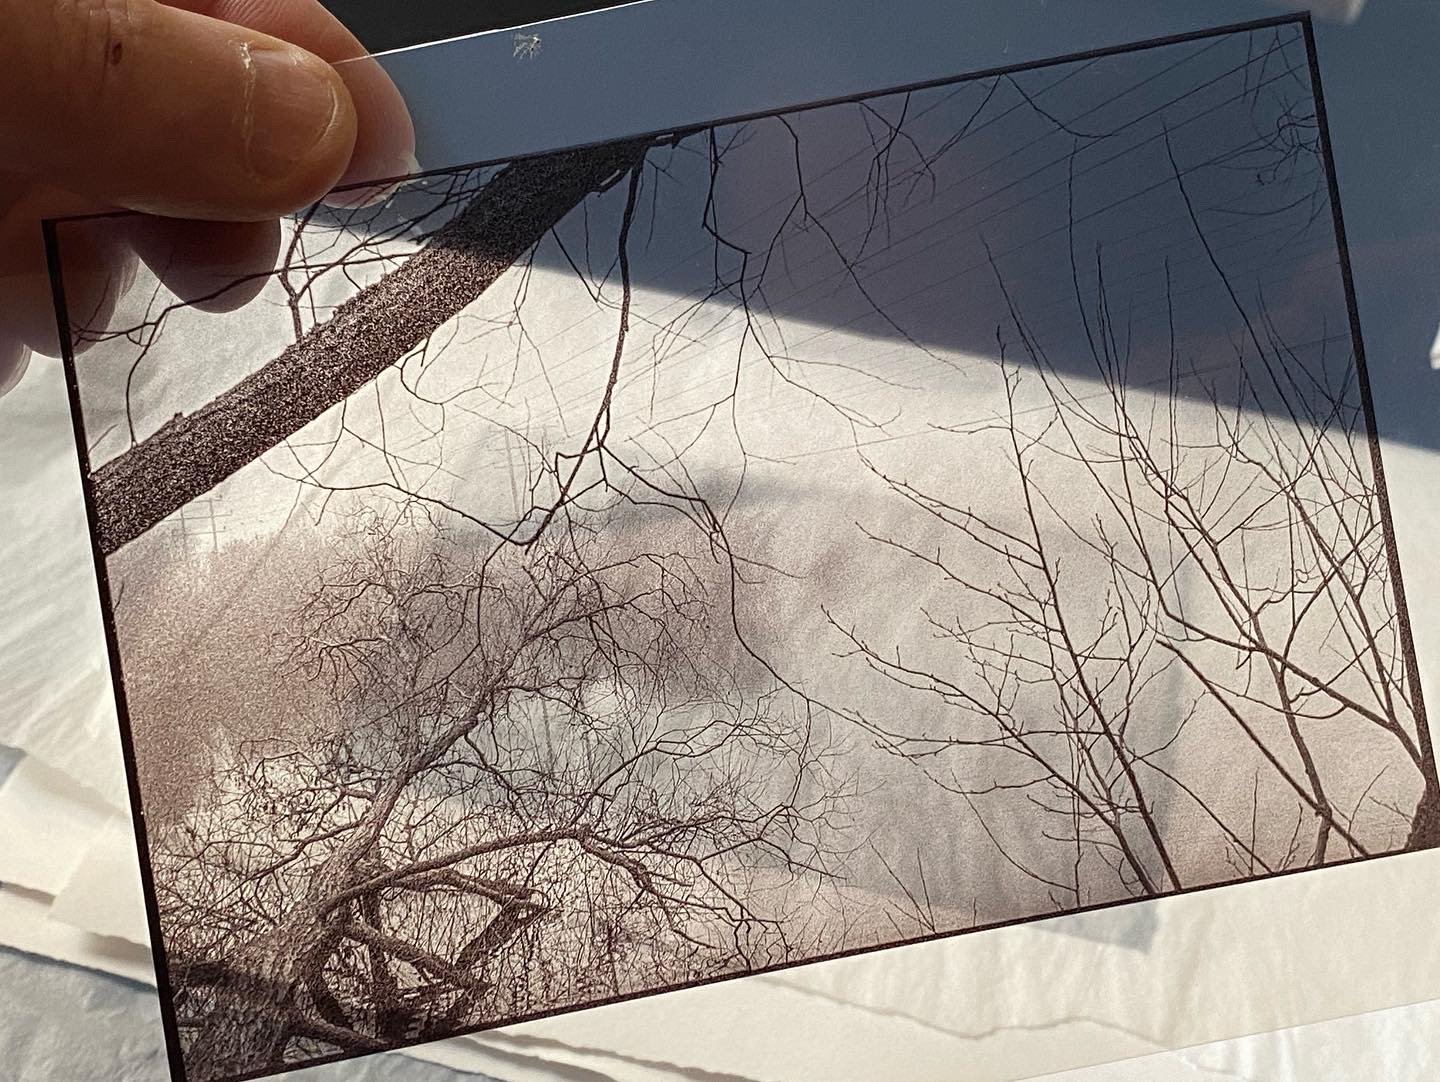
We got straight into it though, exposing photopolymer plates (A6) to the aquatint screen which looked like an opaque grey sheet of acetate! This was where I actually learned what an aquatint screen (a) was and (b) looks like.
The purpose of the aquatint screen is to prime the photopolymer plate with a random set of dots that are turned into ‘pits’ when the plate is developed. The purpose of these pits is to hold ink in the black areas of the image on the plate. Without them, the ink would be wiped away leaving that part of the image a washed out grey.
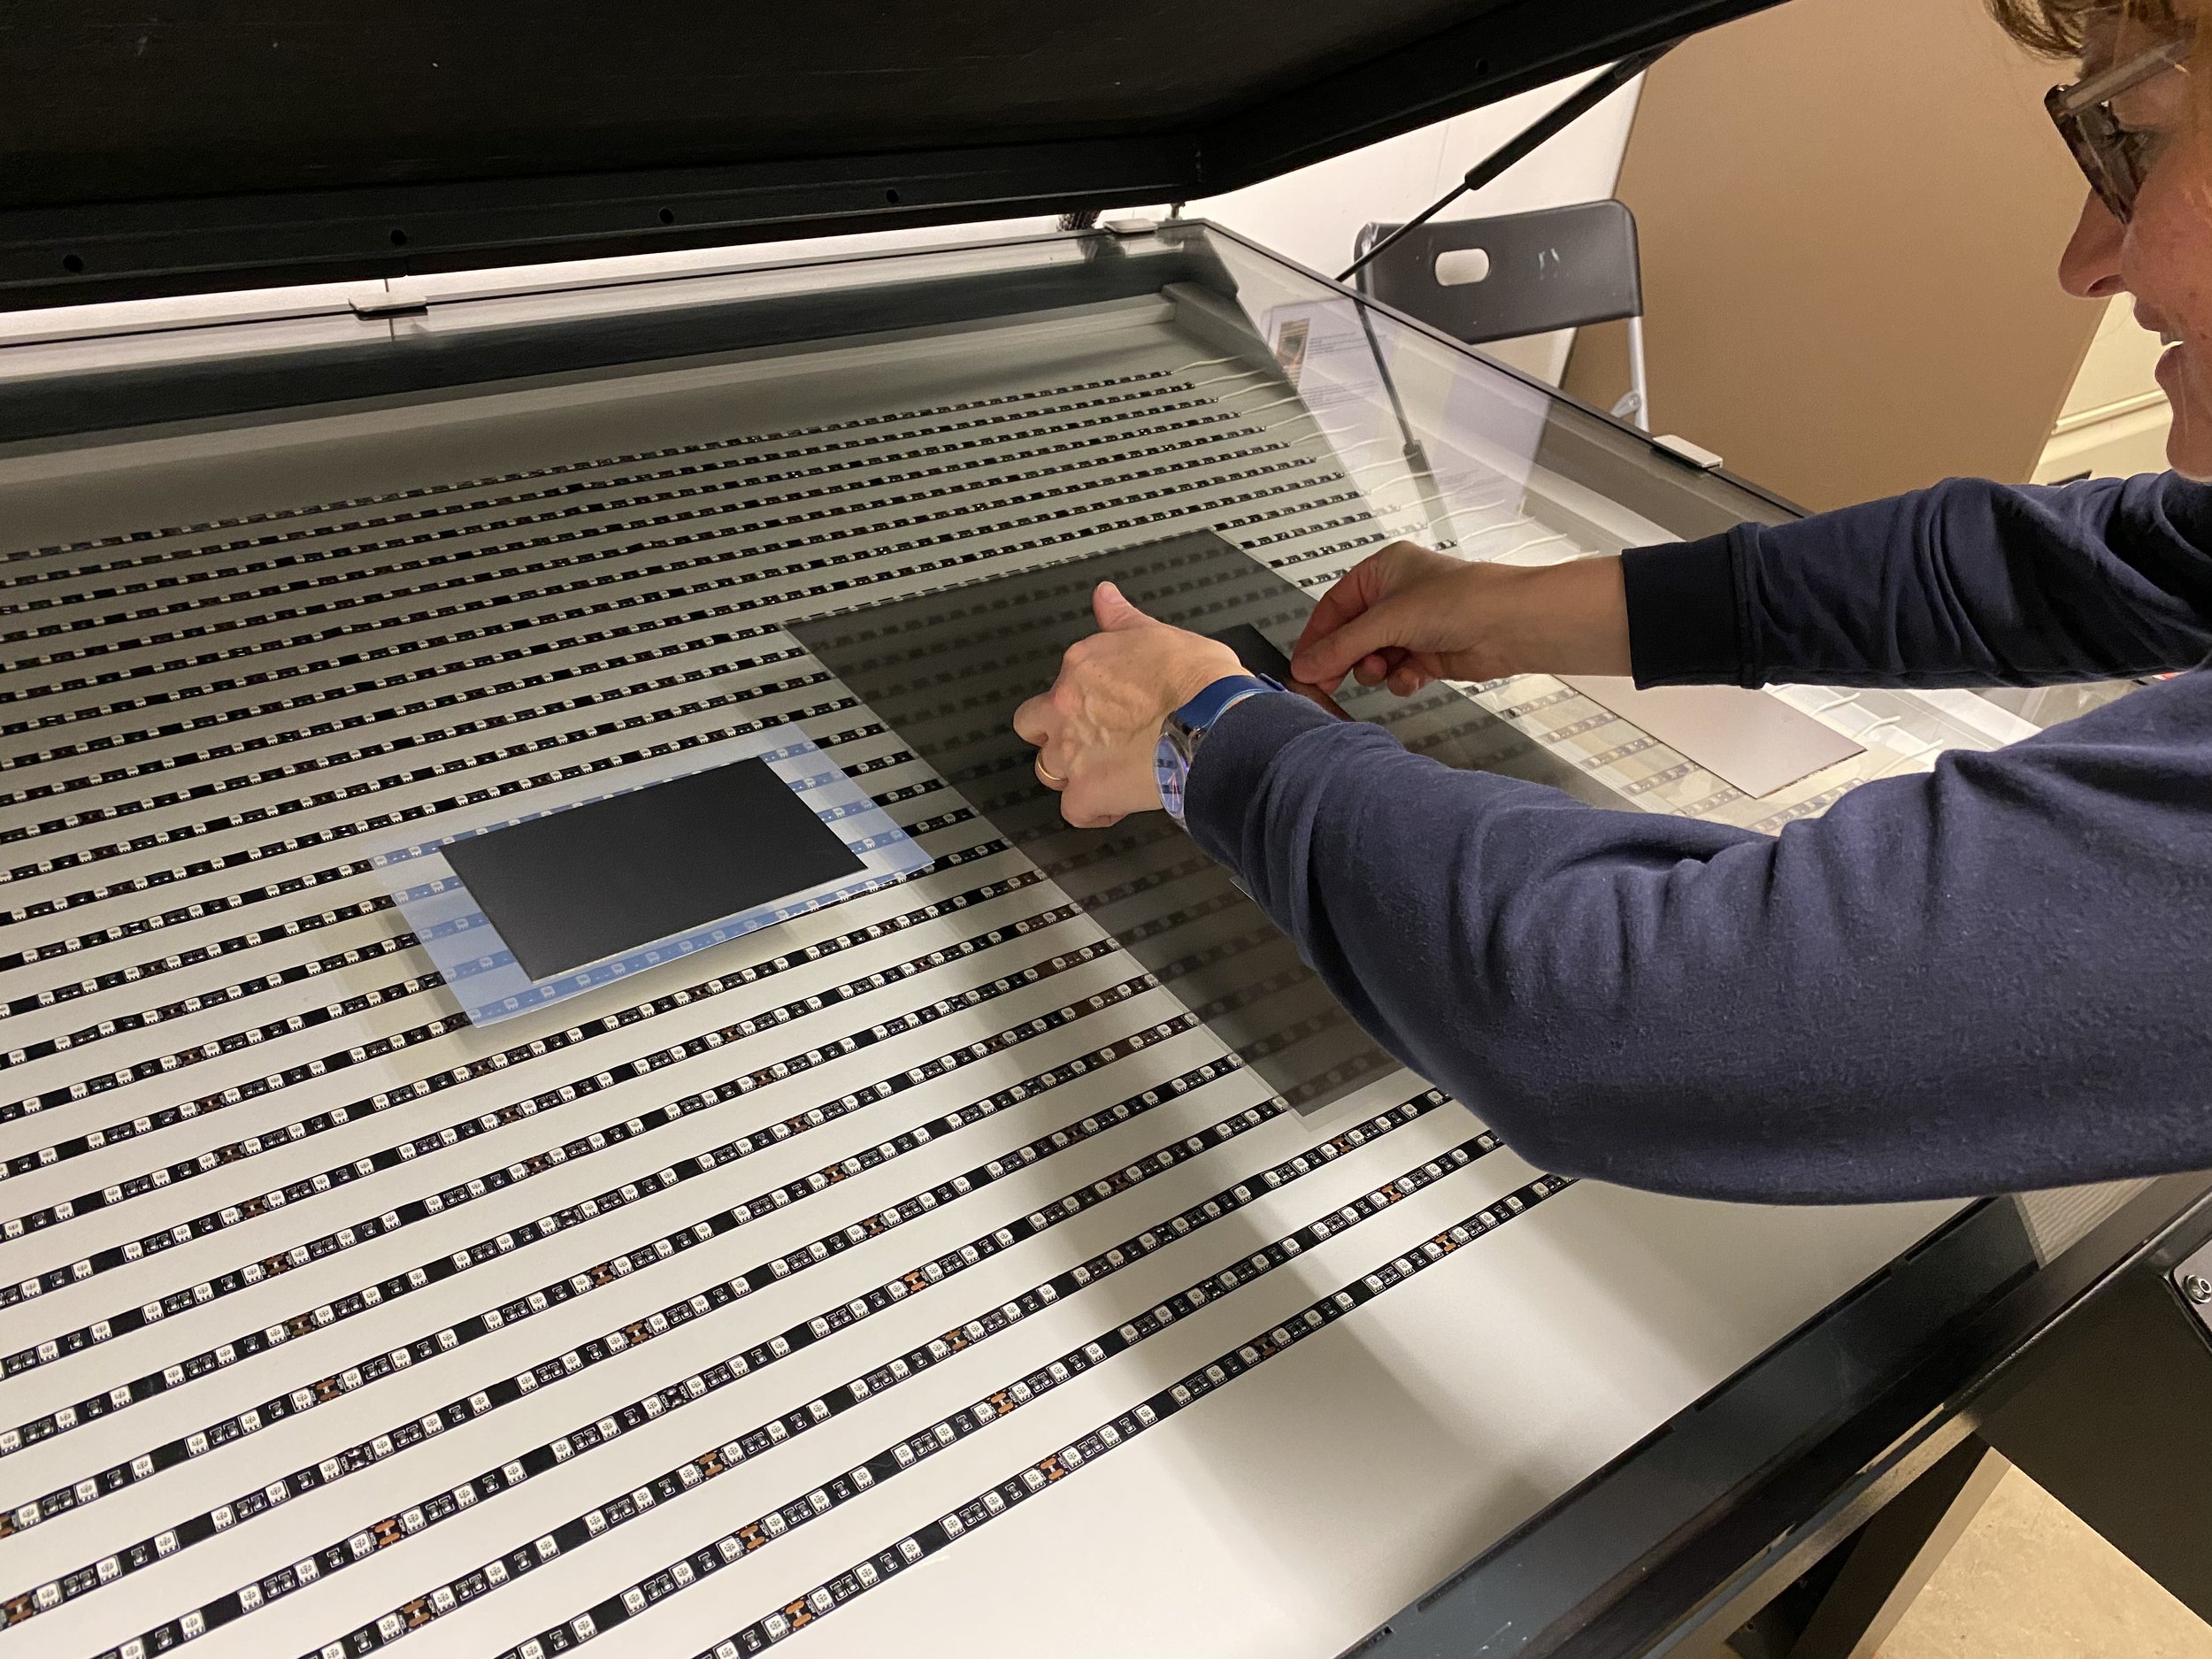
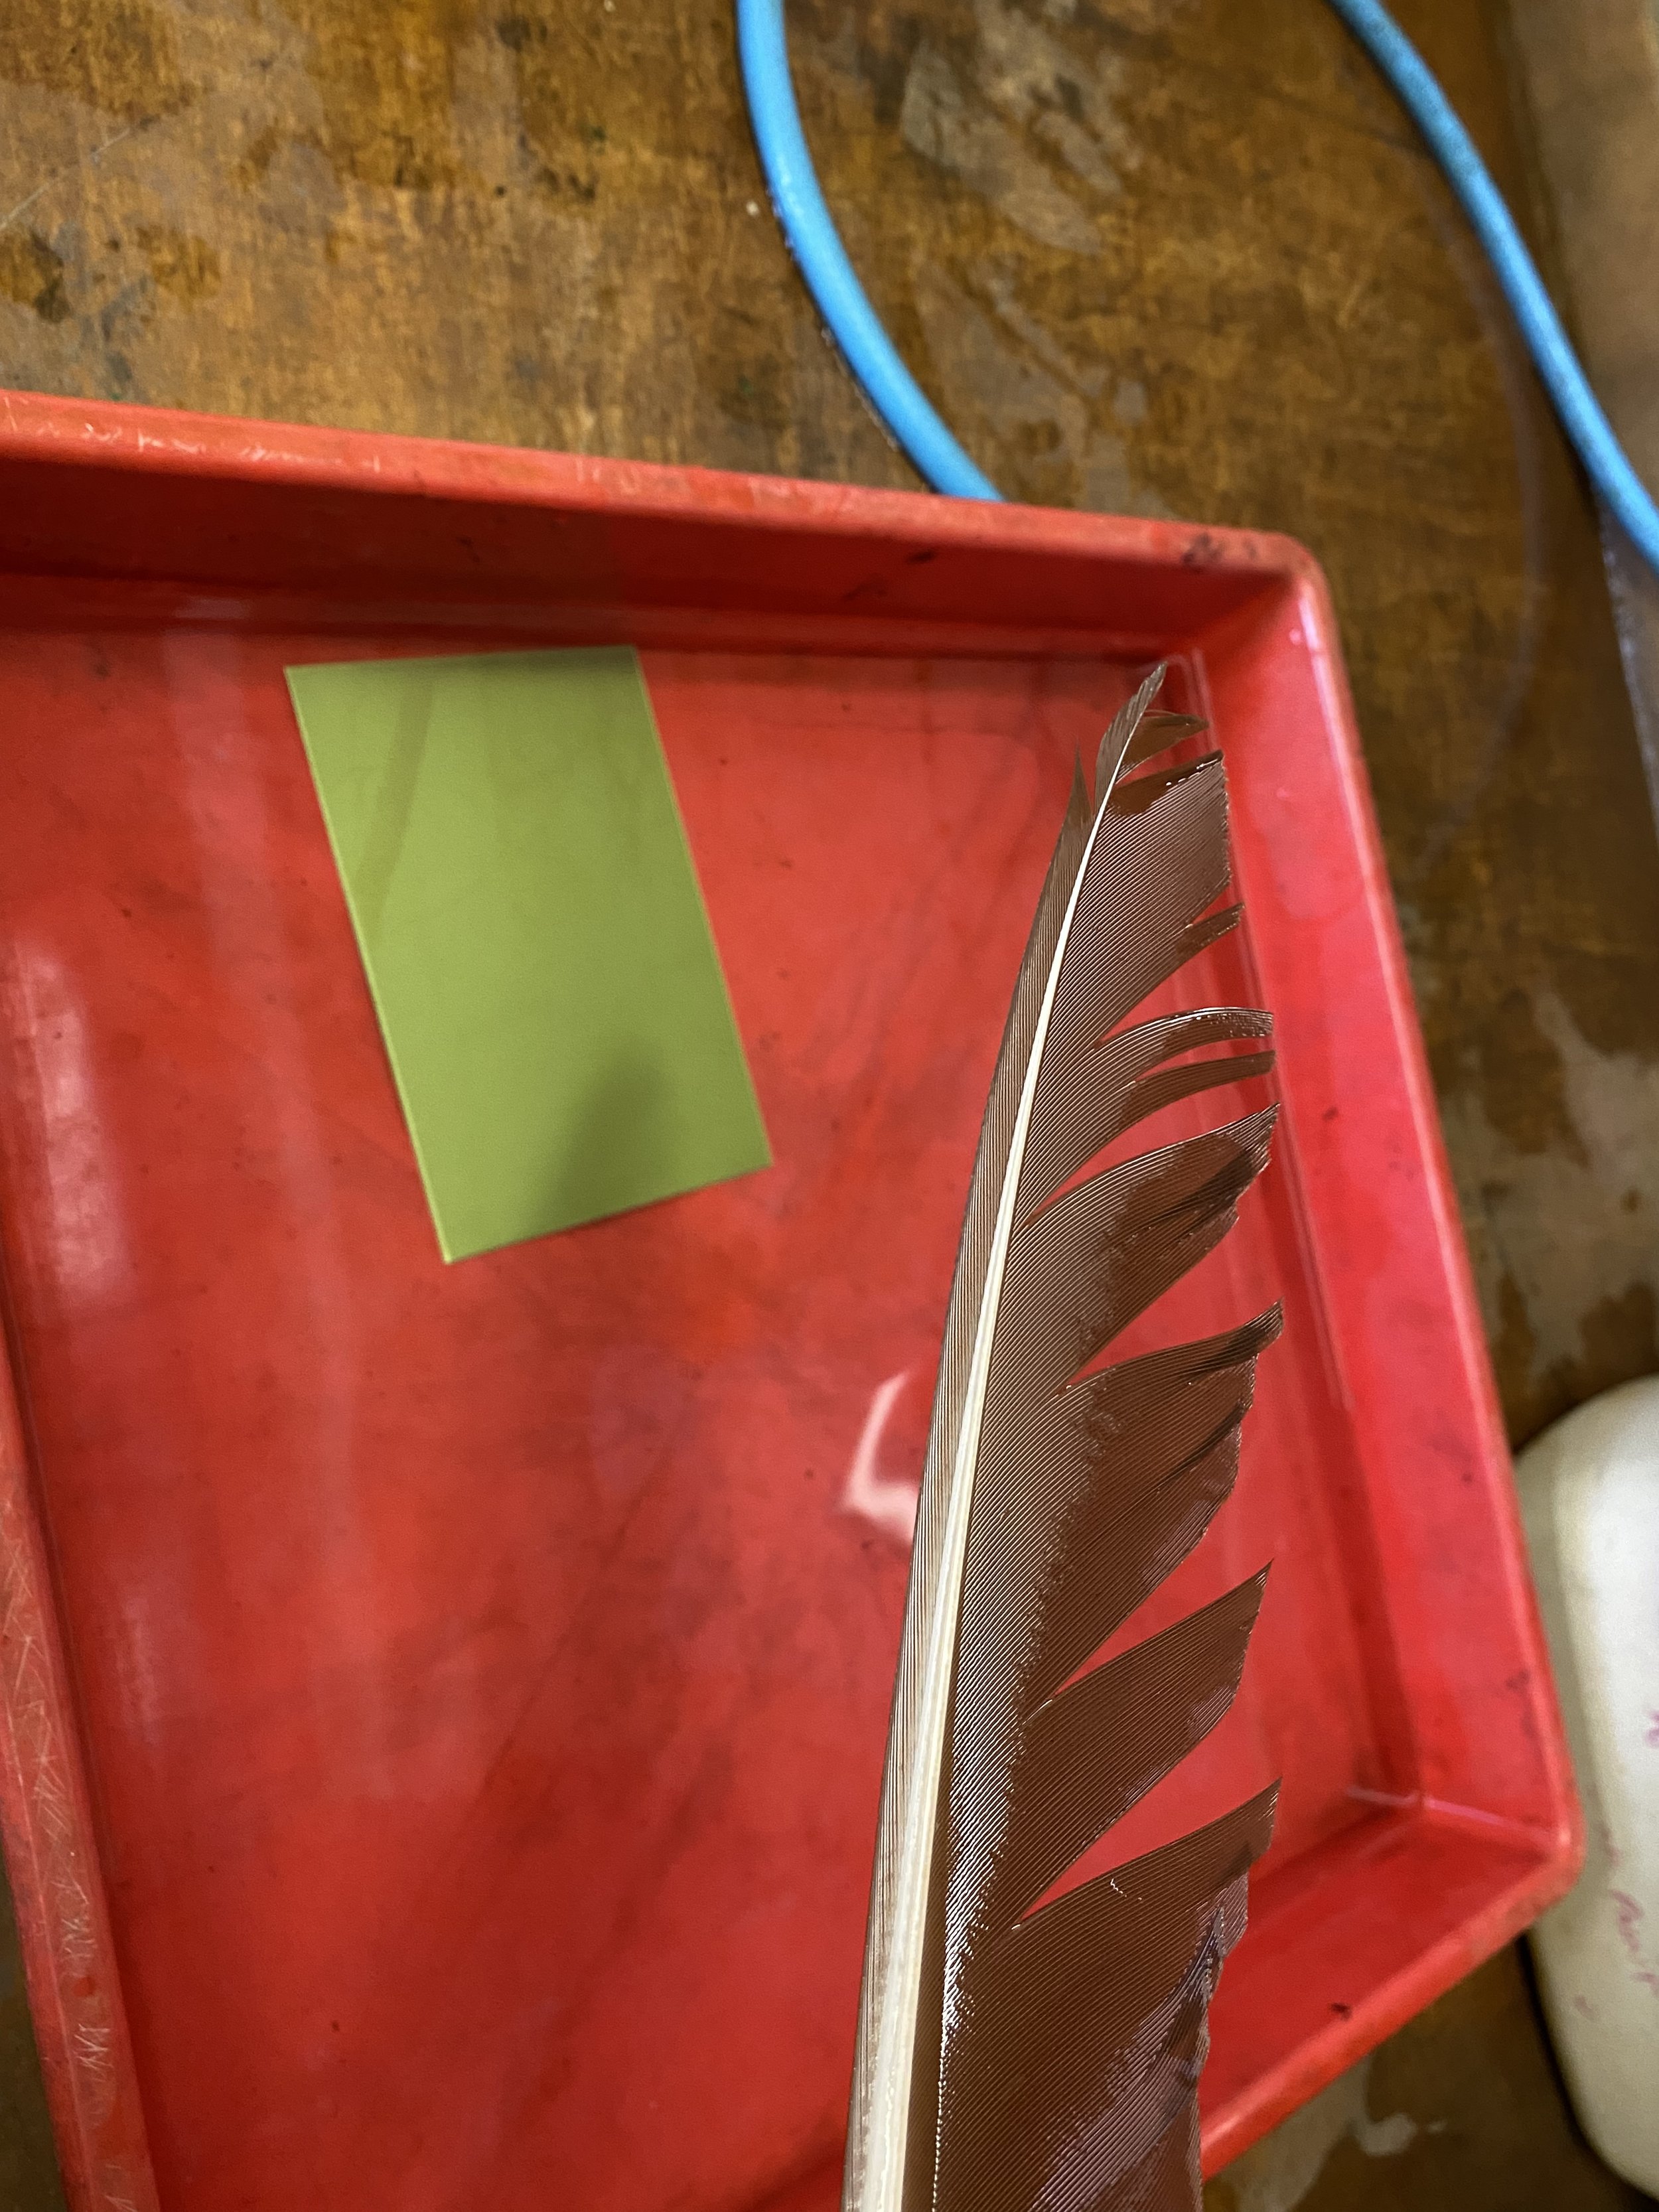
Next step, expose the plate to the prepared positive. So far so good. Then the plate was etched out in lukewarm water using a feather to gently brush the surface and wash out the plate. Lo and behold, a negative image appeared on the plate! The plate was blotted, dried with a hairdryer and then put back into the UV exposure unit to harden out.
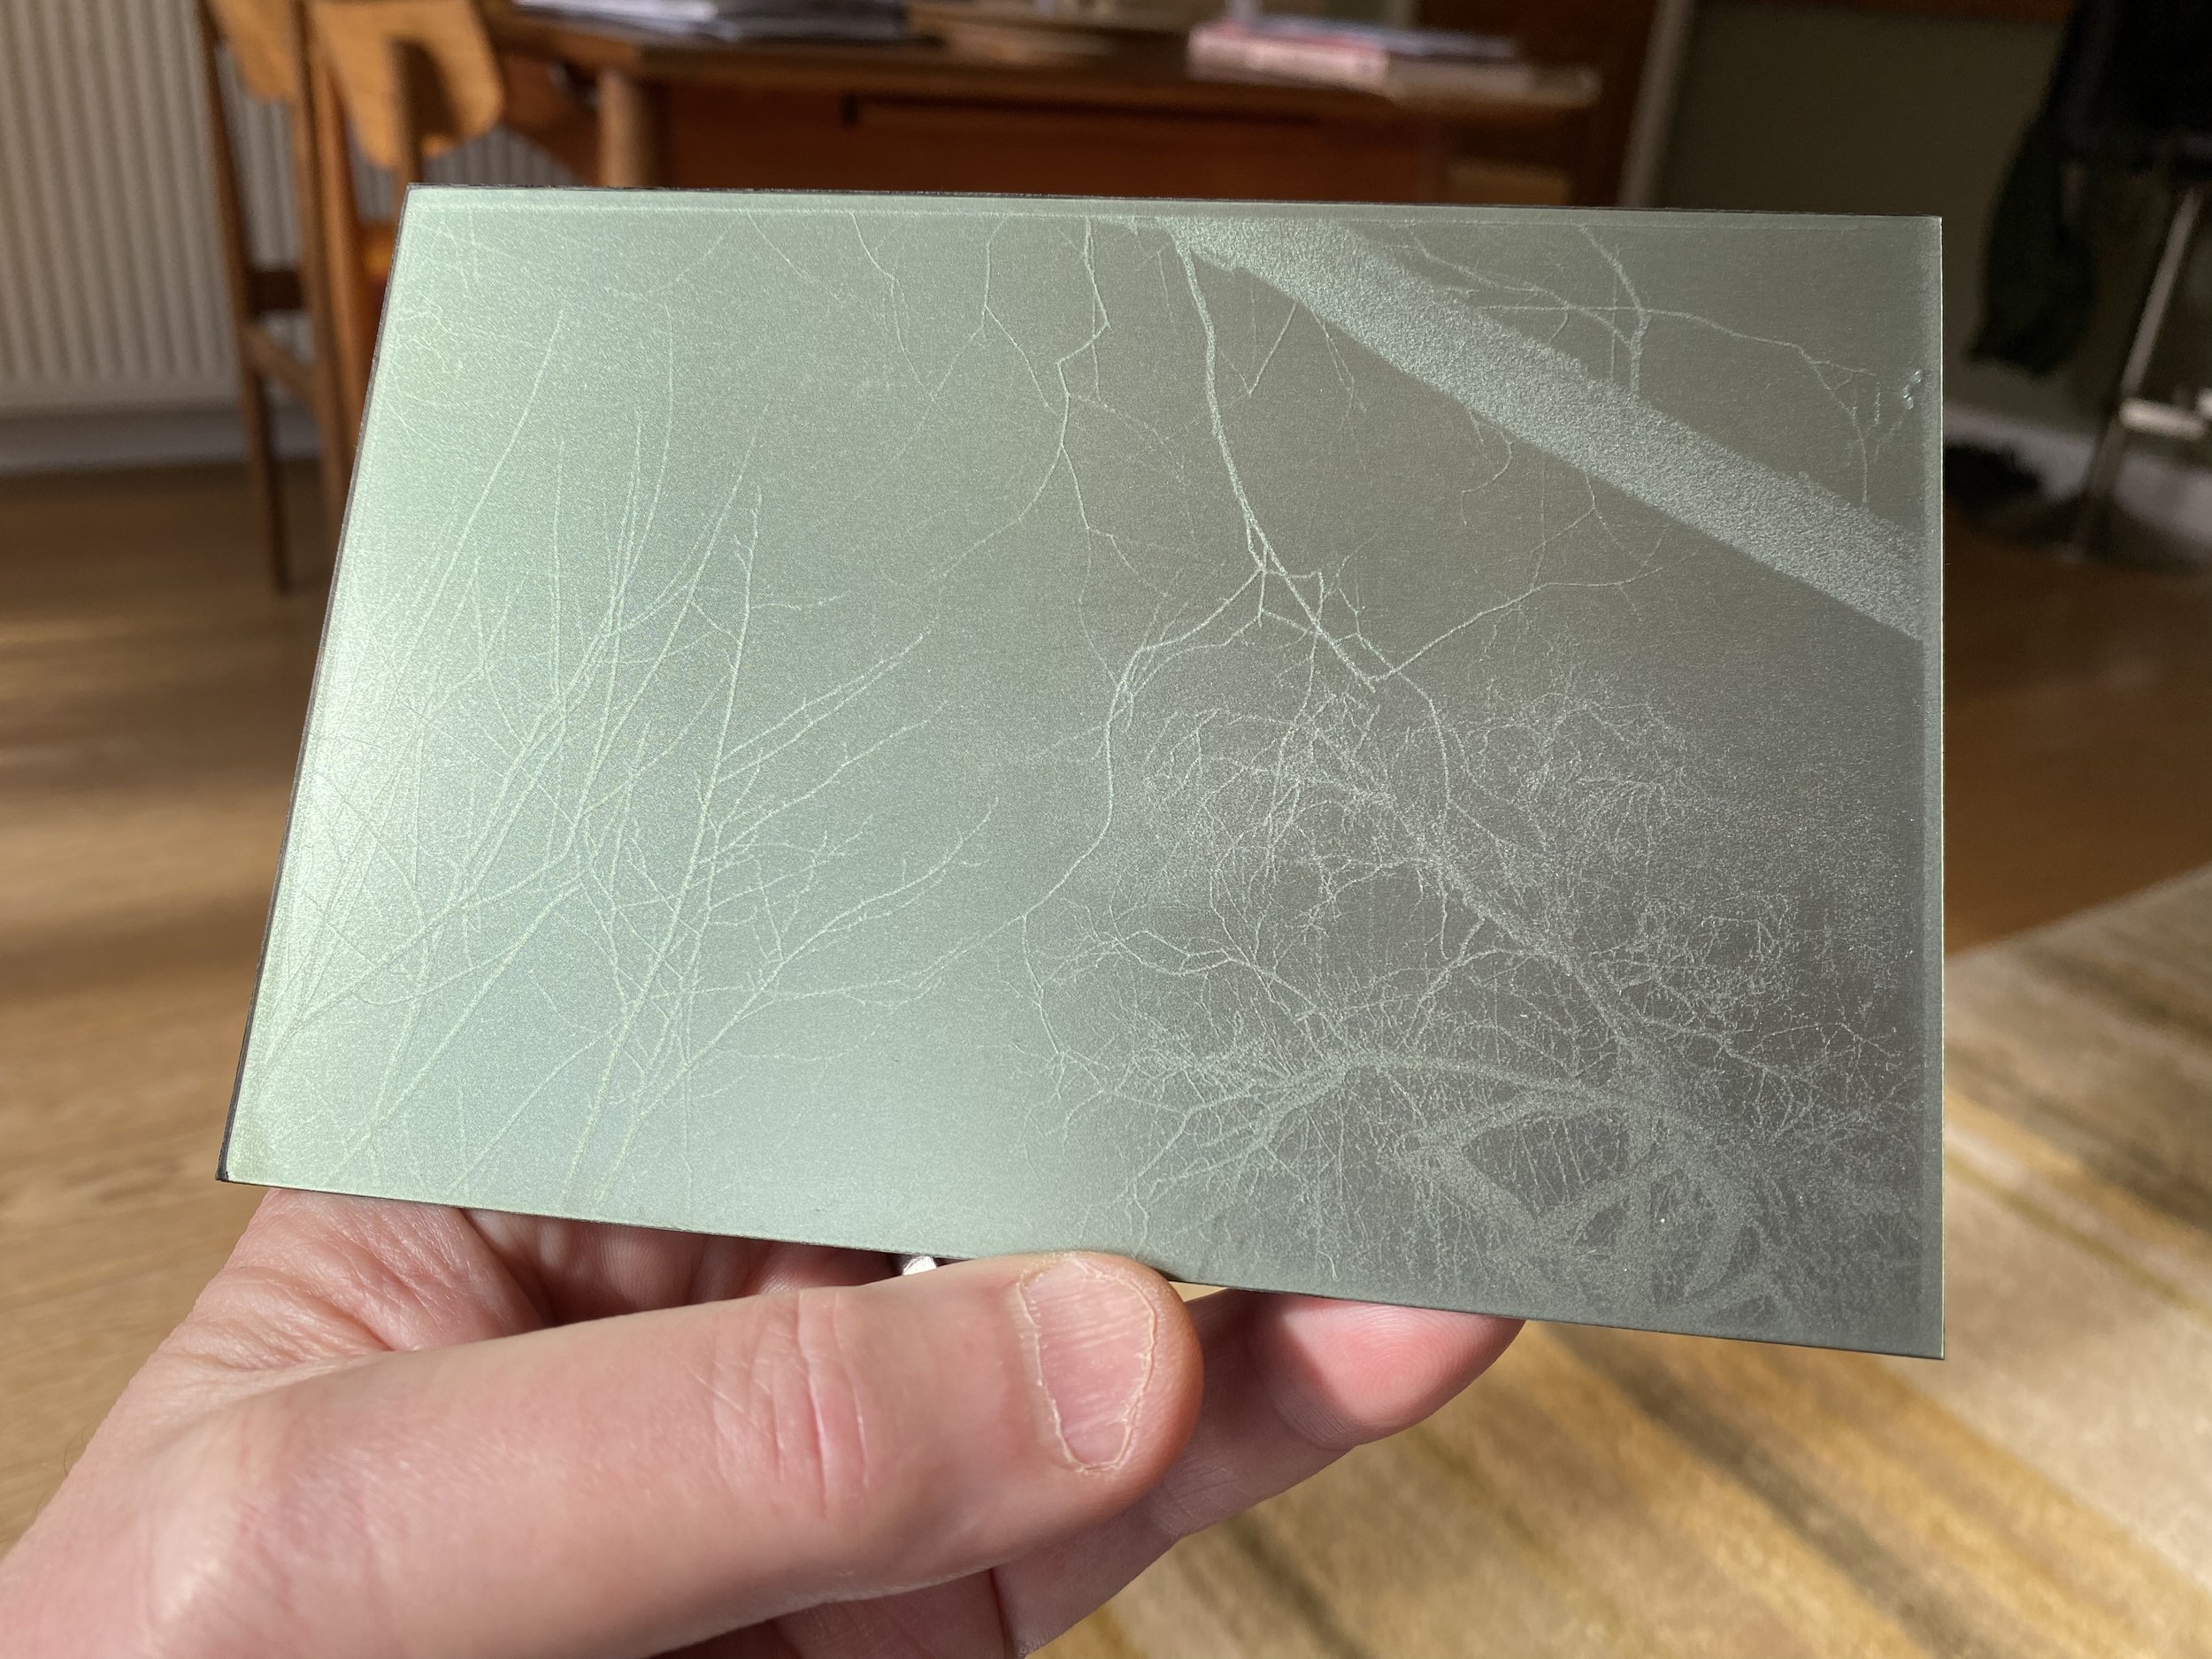
With the plate hardened, I was ready to ink and print. In my head, this was where the real craft began. I was about to become a printmaker!
Inking is a physical and immersive experience with very specific materials, techniques and processes involved. I loved it. While the plate was being inked, the printing paper was soaking in water which underlines the physicality of the printing process. In the press, the damp paper fibres are forced into the inked recesses in the plate and the ink is physically transferred to the paper. This is the basis for intaglio – the process whereby a plate is inked to its recesses, not its surface.
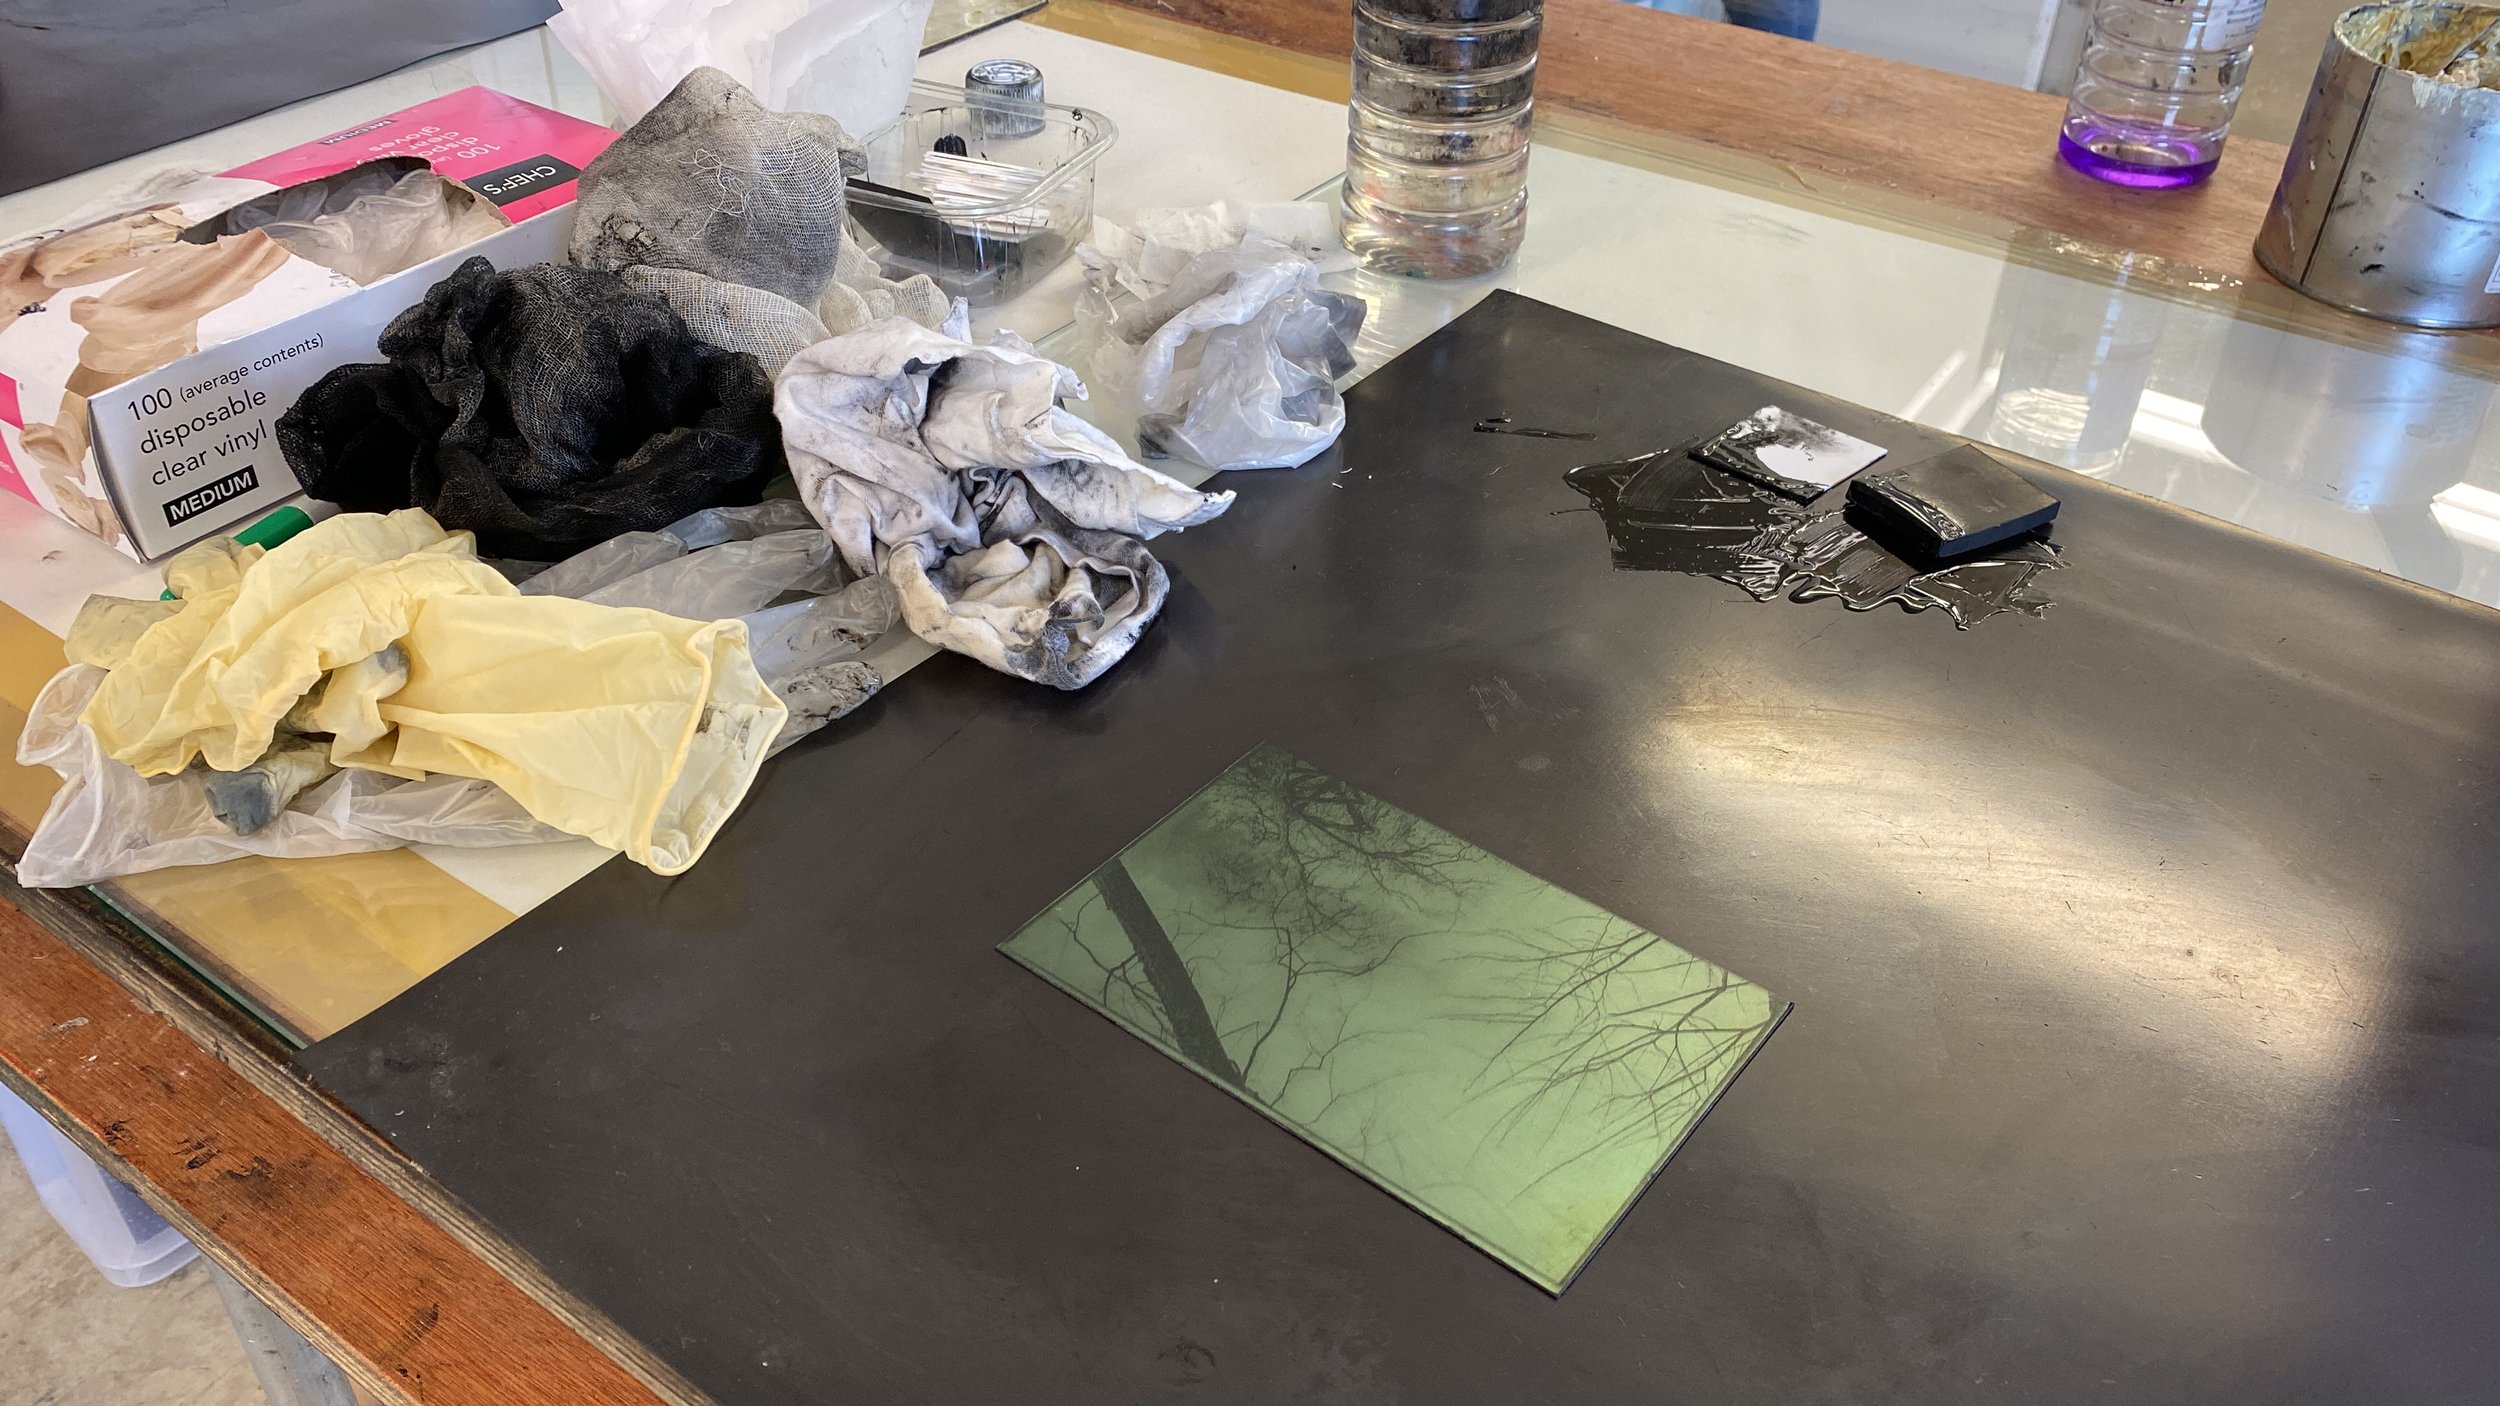
The final part of the inking process is wiping whereby all but the ink in the plate’s recesses (pits) is wiped away. This is mildly hairy as you can over wipe and remove ink from the recesses which would result in a washed out print.
With the soaked paper blotted dry, the inked plate is placed face up on the bed of the press and the paper placed face down on top of it. The press blankets (hideously expensive) are then unfurled on top of the paper (once a protective sheet of tissue has been added) and the giant iron press wheel is turned so that the bed, with the plate/paper sandwich, is rolled through the rollers at several tonnes of pressure.
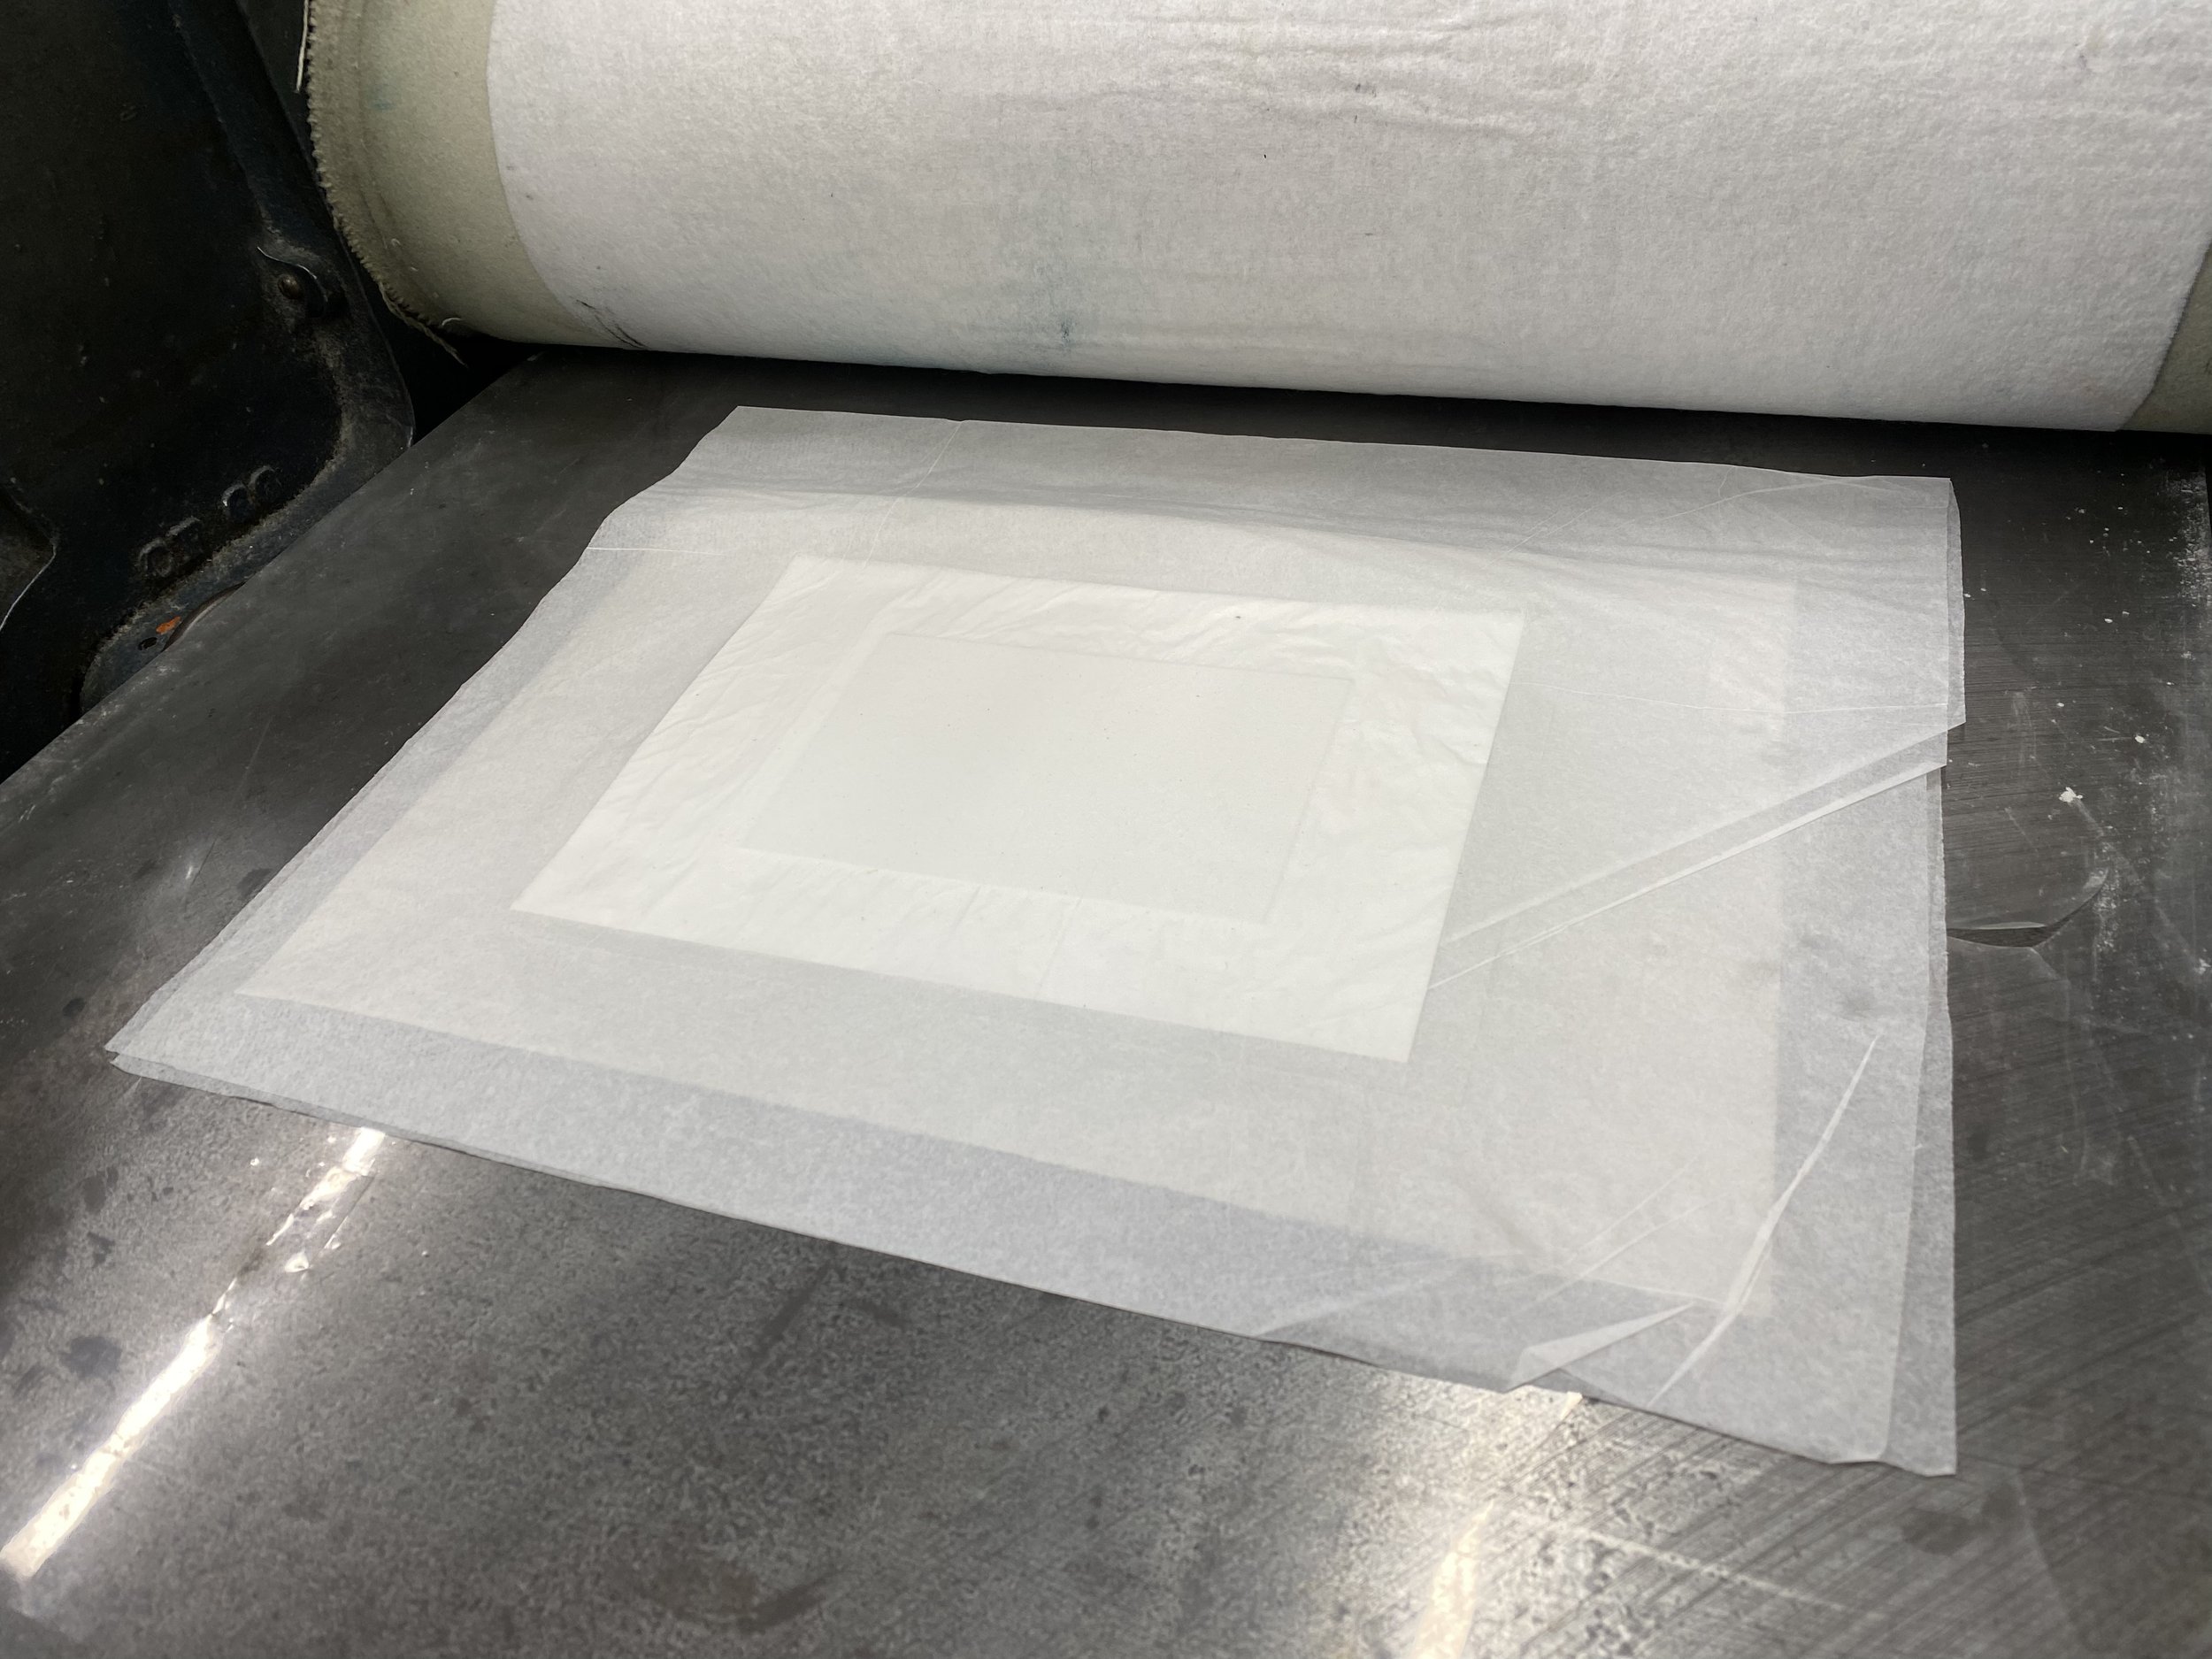
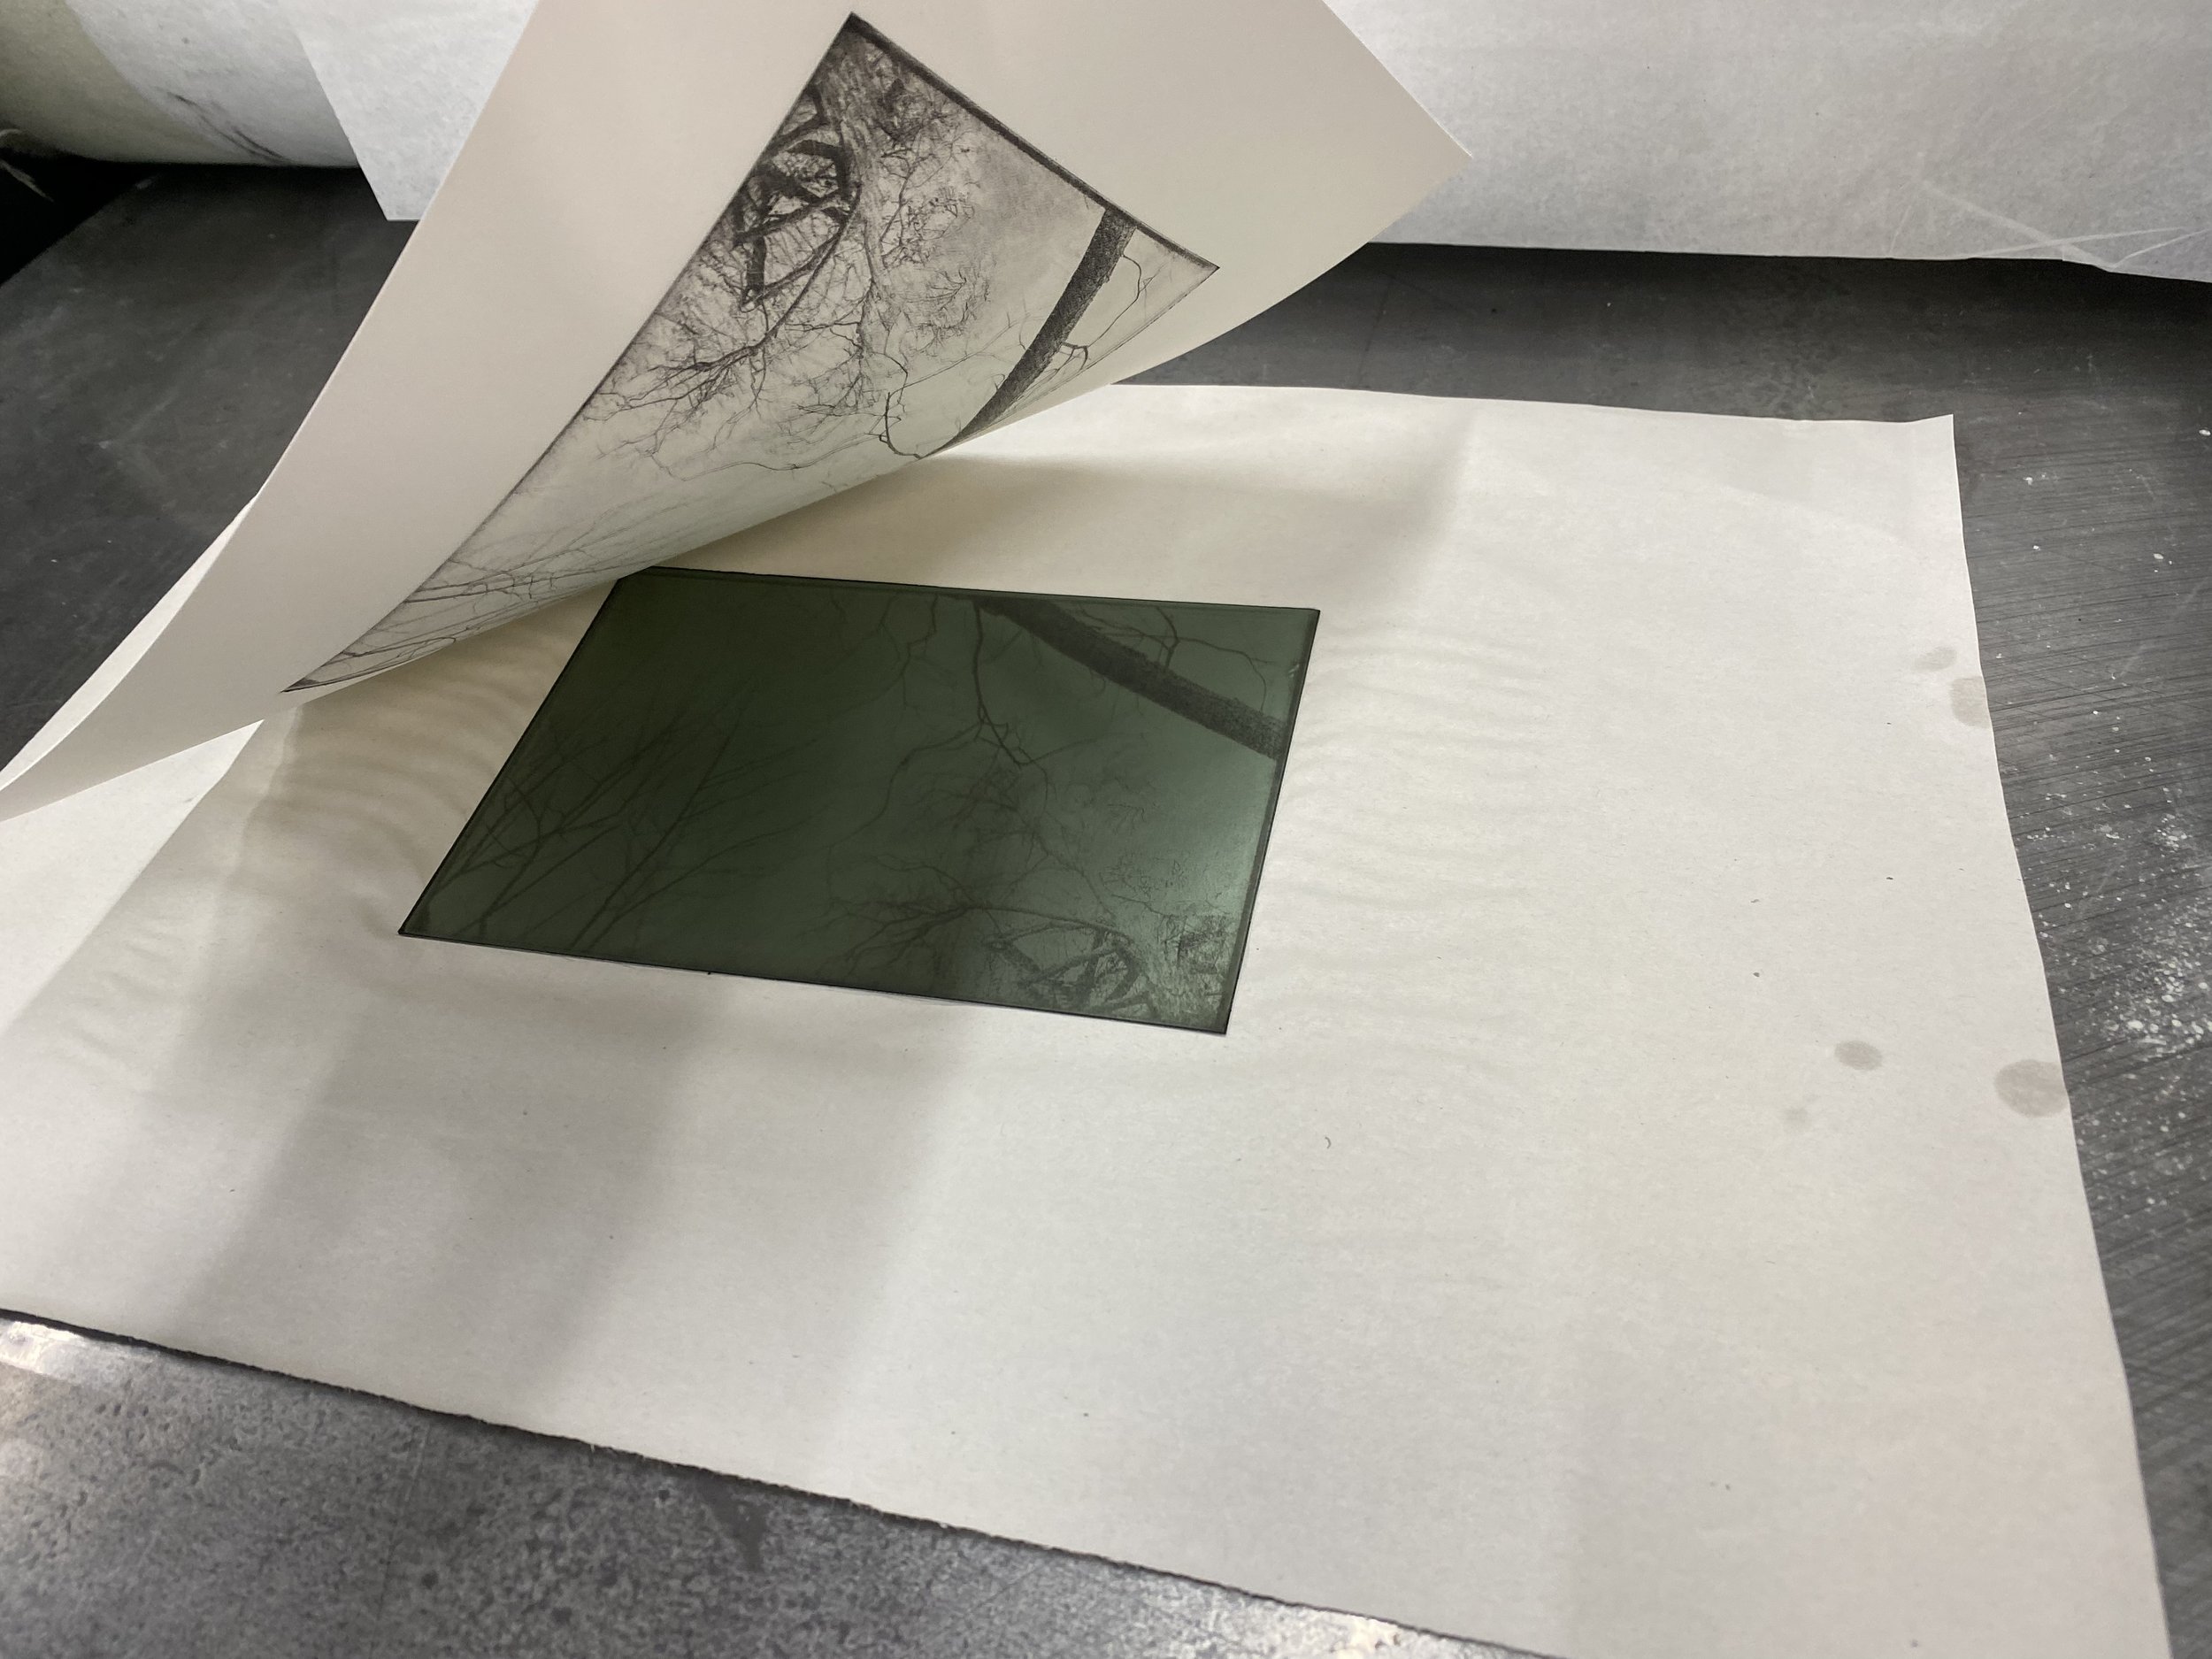
Unfurl the blankets, remove the tissue paper… and carefully peel the print from the plate. A magical and unforgettable moment. The printed image is revealed
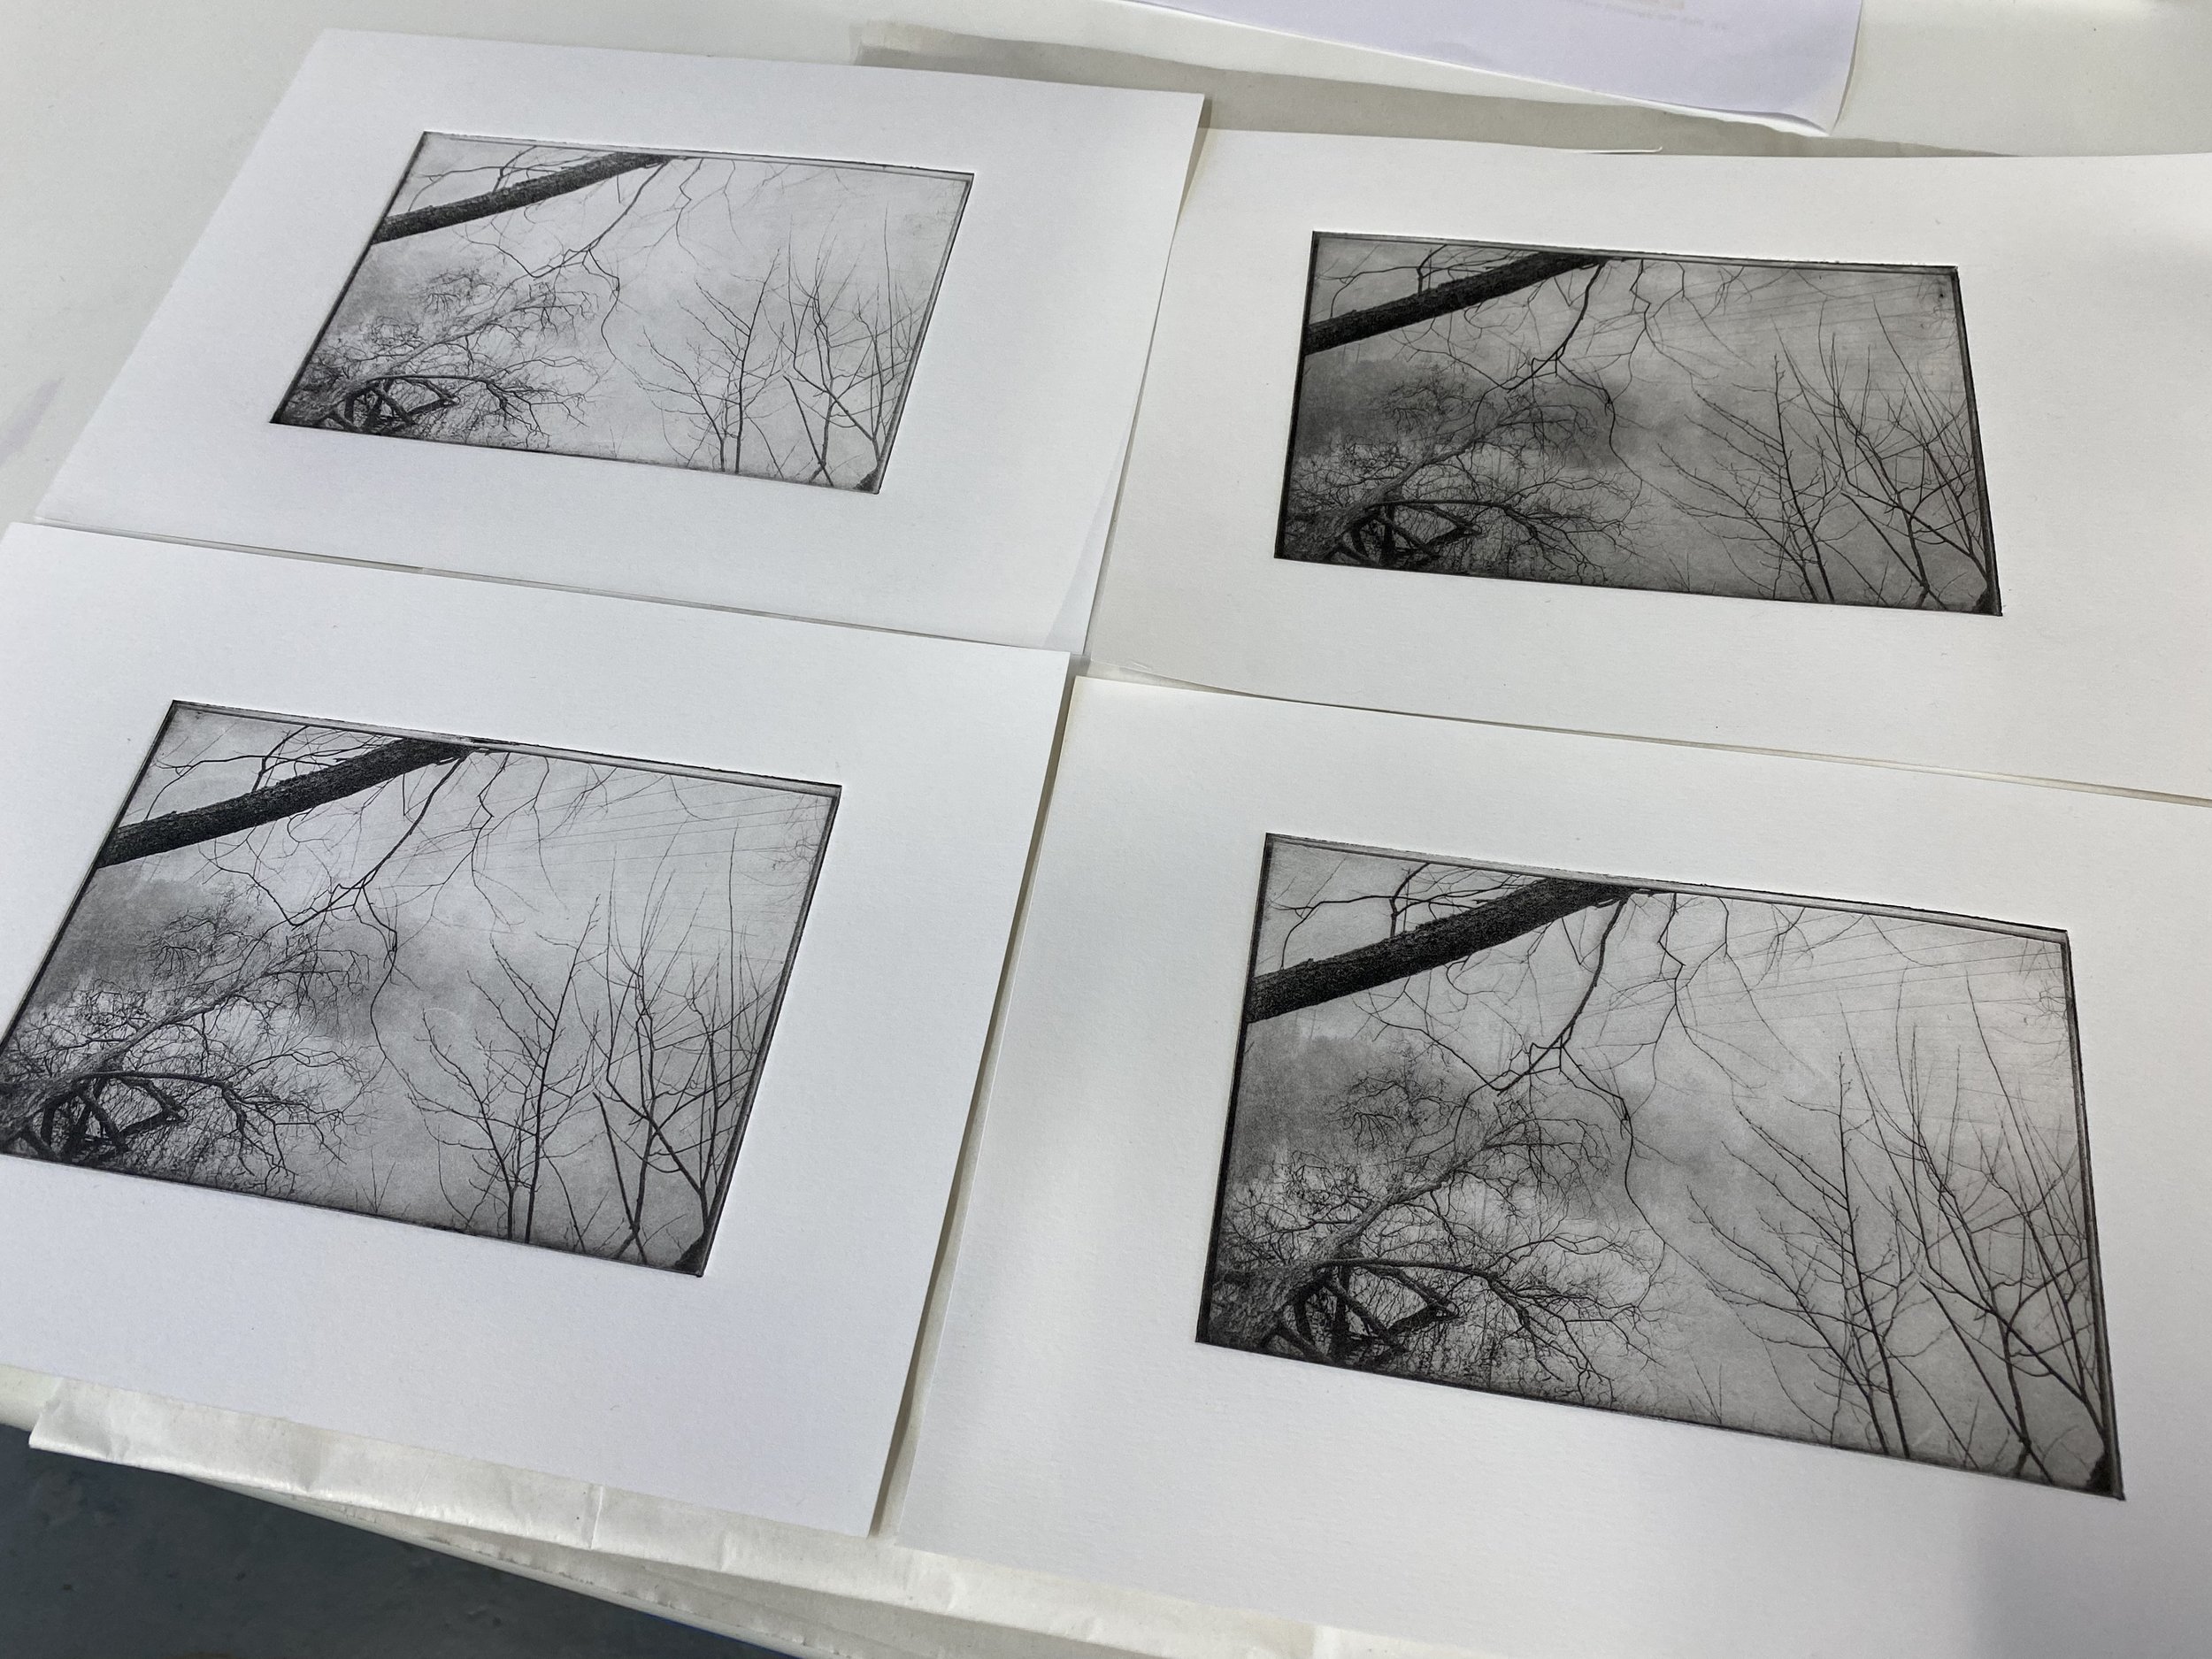
As you can see, it’s not easy to ink and wipe consistently to achieve identical prints. But that’s something to worry about in the future. Or, more realistically, something to love. The imperfection of it.
The workshop was invaluable in showing the process from start to finish and learning how to do it. I was well and truly hooked.